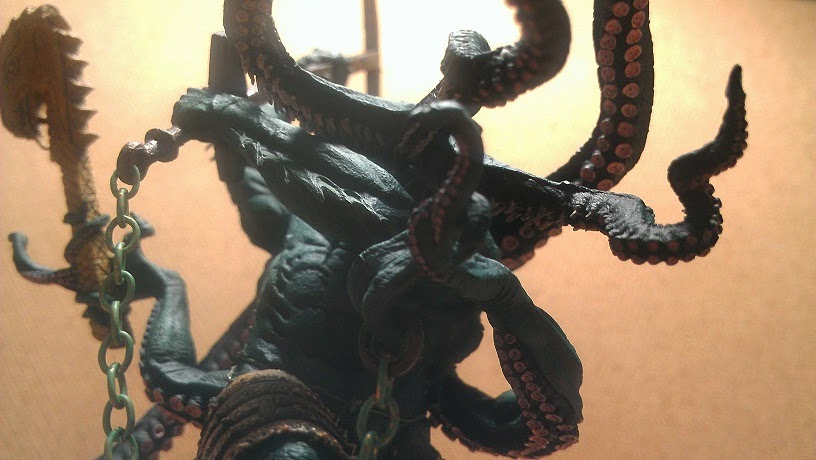
shadowbcfc wrote:Some great miniatures dude wish I could paint that well! Just wondering what colours you used on the cape of Carrowek? Looks amazing
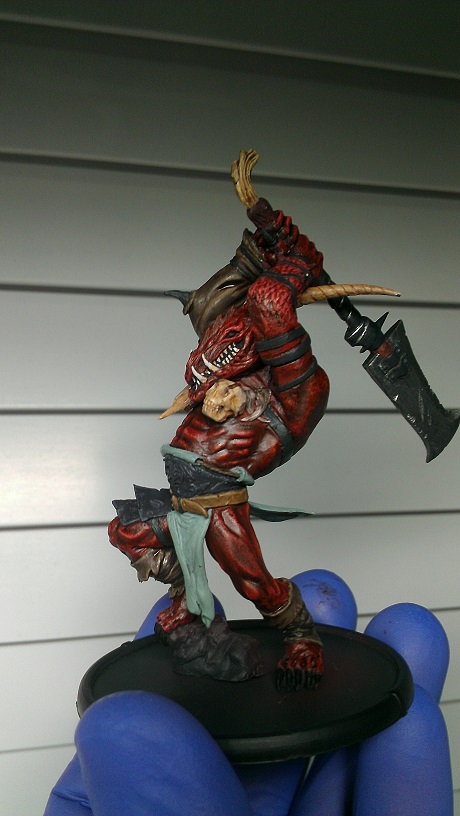
For the fur it was Vallejo Dark Earth and then some washes and a little dry brushing. The interior skin was Vallejo Mud Brown with some highlights and a wash of Gryphone Sepia.
Well things have been a little slow lately, hence the lack of updates. I was side tracked for the last few weeks following a certain KS you might be familiar with. But now that the party has ended it's time to get back to work

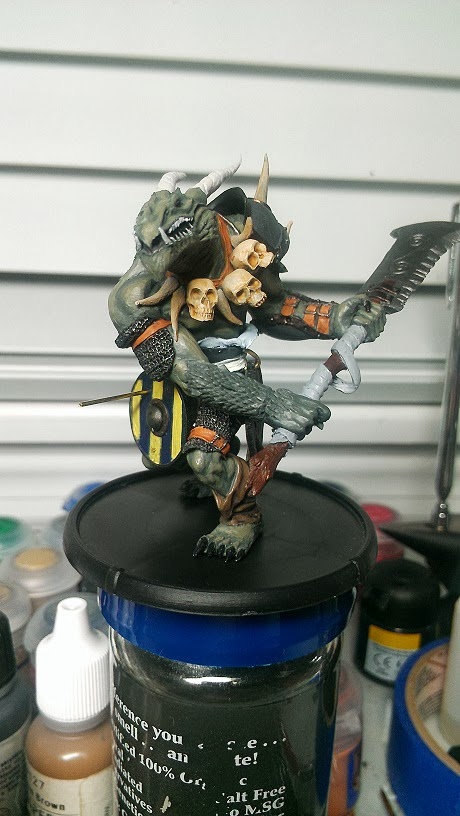
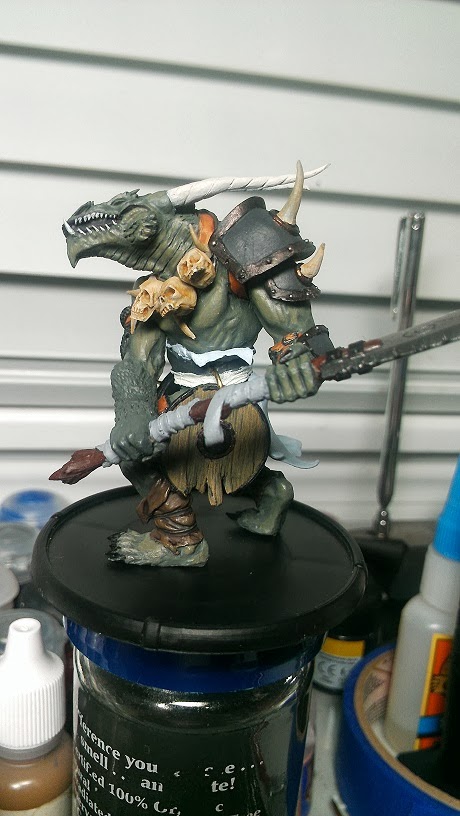
I'm currently trying to finish up my two 1000 gold armies of Fomoraic and Brythoniaid. And when I say finish I'm really saying that I want to get them up to at least table top standard so I can play as I refuse to play with unpainted minis. Technically almost all the models here are still WIP but they're to the point where they're good enough to play some games with.
First up is my 1000 gold Fomoraic muster:

Next is my 1000 gold Brythoniaid muster:

I will eventually do a more detailed breakdown of the musters but they are identical to the ones I listed in the Fomoraic and Brythoniaid strategy section on the forum here.
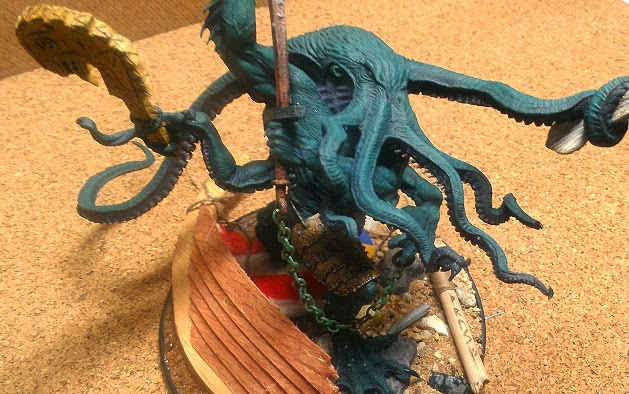
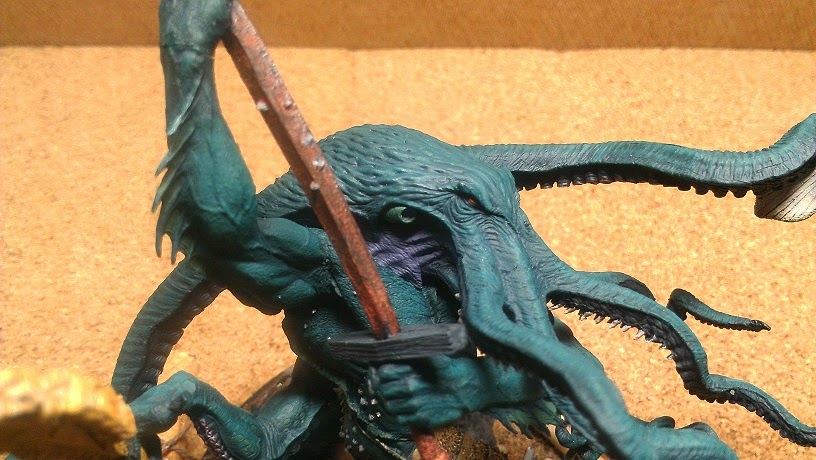
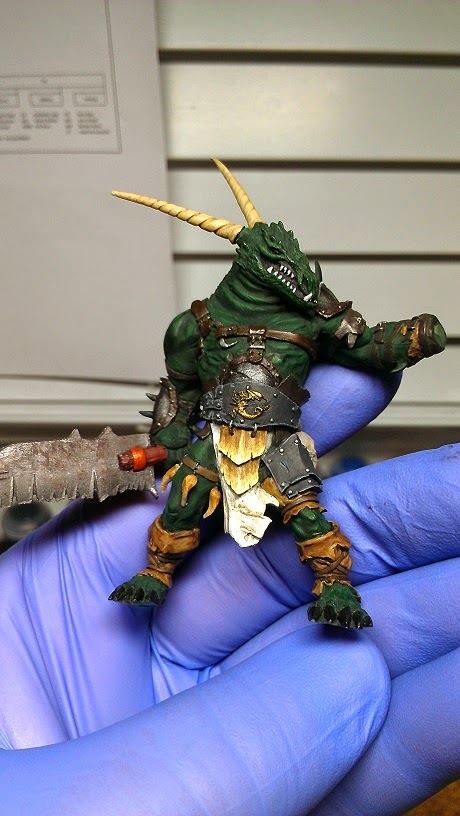
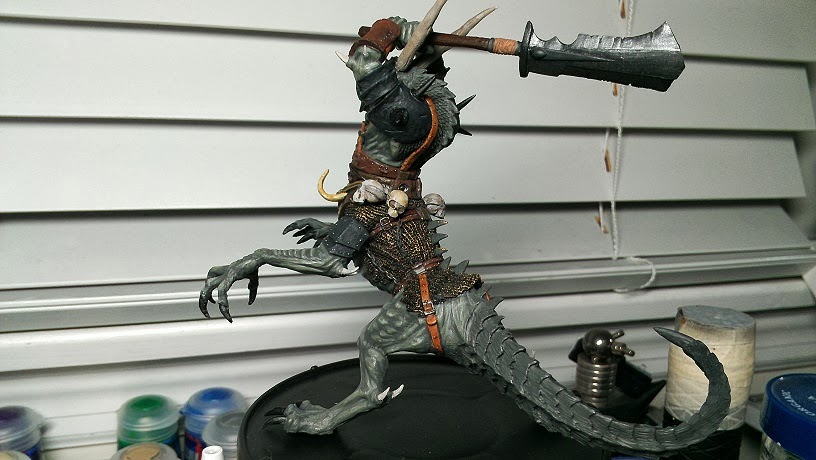
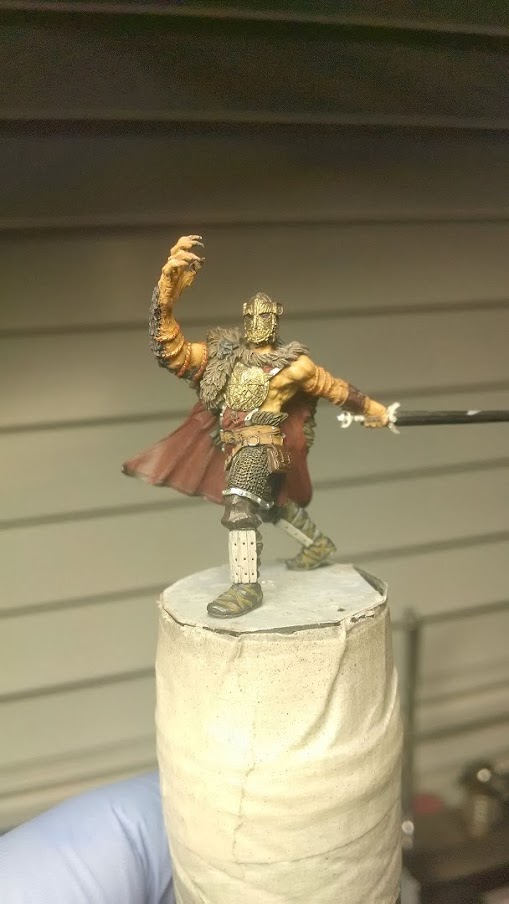
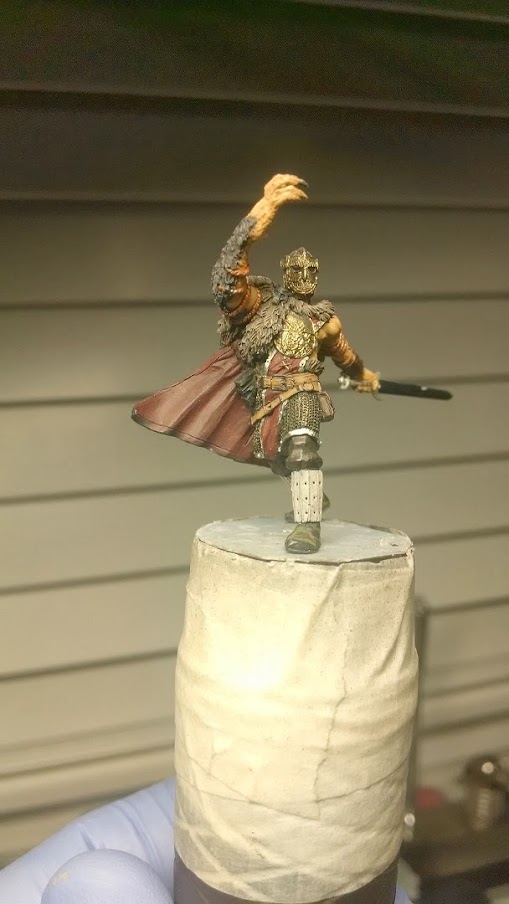
Now as you will notice, there is one Cawrdraig that is incomplete and he is the focus of this update I guess. At least he is the last one to finish up and the one currently being worked on. Now I already have Aradae Mawr in my muster as the Pencawrdraig and I needed another Cawrdraig to act as the Tâncawrdraig (banner bearer). Since there isn't a Tâncawrdraig model currently available I decided to do a little conversion work. It is still early days but this is what I've put together so far:


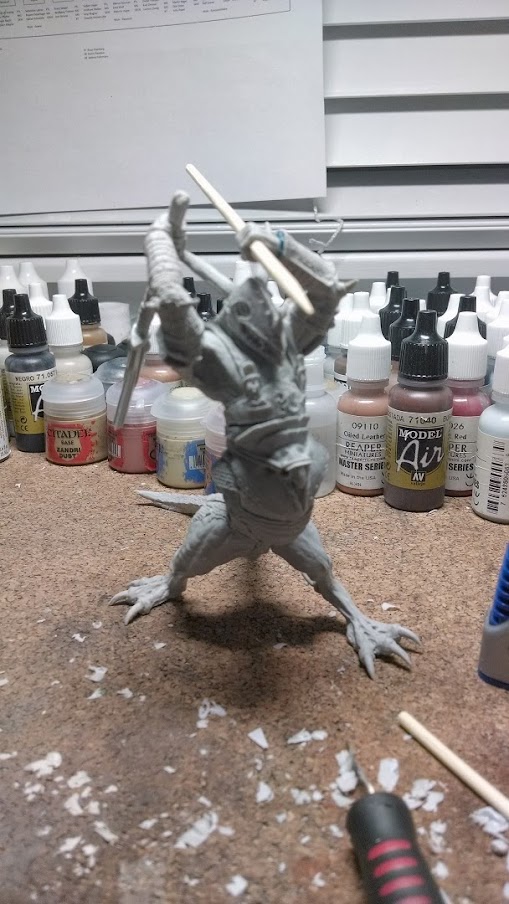
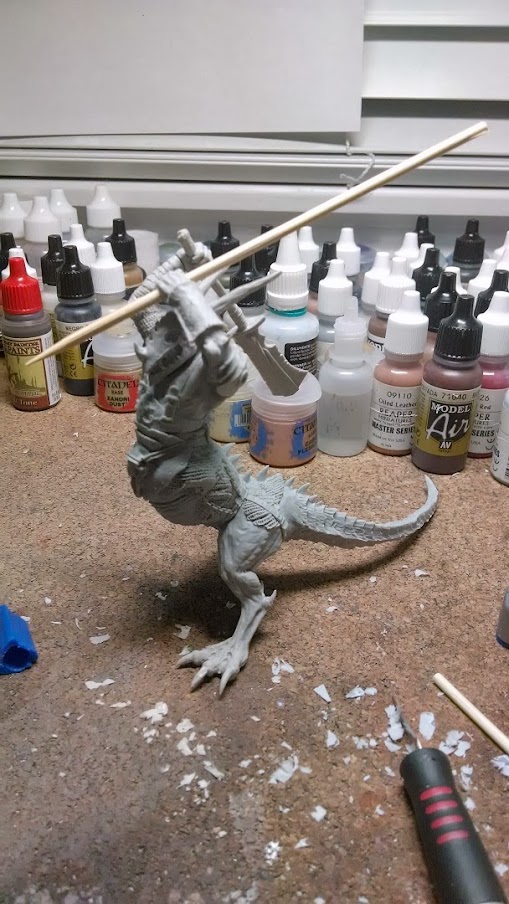
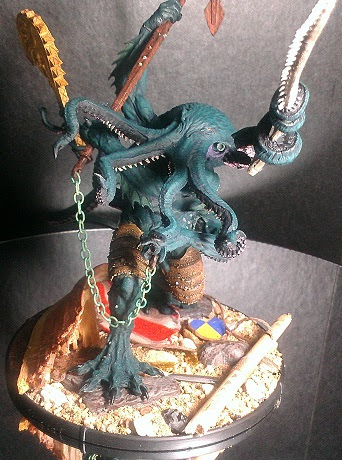
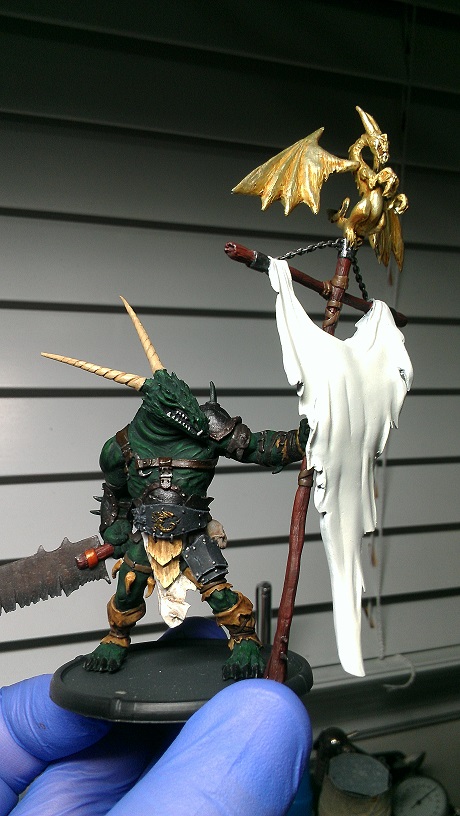
I'm still working on the angles for the banner pole and weapon but I think you get the general idea. The look I'm going for is that this guy is about to pin some poor sod to the ground with the banner and then hack into him with his blade. I also have to make a banner which should be an interesting exercise and I'm not really sure how that is going to fare but I guess we'll see. I haven't put on the other set of arms just yet since i'm debating on if I want to alter them. I have some ideas but they would be pretty complex and I'm not sure I want to get into that at this point. I will likely leave the lower body the same. I had thought about doing some work on the hind legs to change up the pose but again that looked to be more involved and would require a lot of time I don't have. I have a huge box of MM resin that still needs some loving after all.
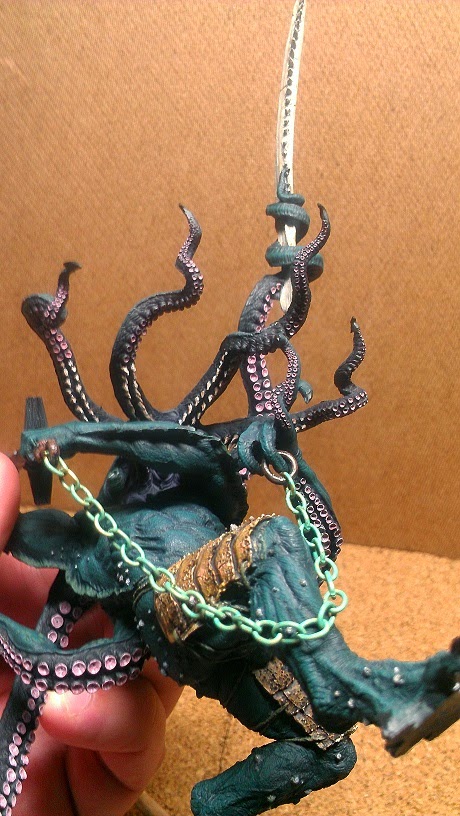
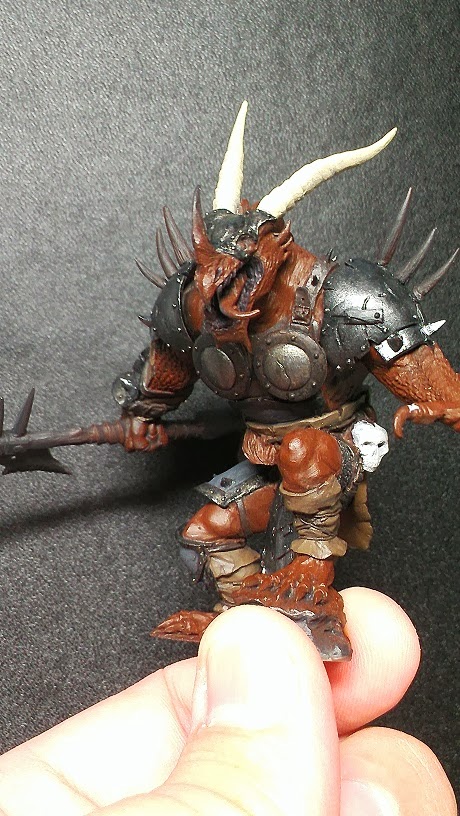
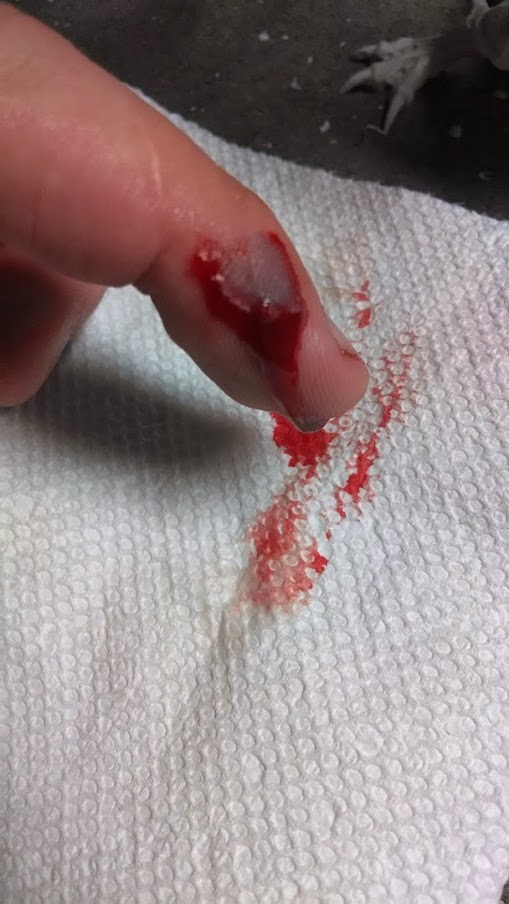
You may also notice that the tail has been straightened out a bit. This was done but submerging it in boiling water for a few seconds and then slowly straightening it out once it was soft. I had wanted to do more but there is only so far you can bend it before it starts to crack or split. So I pushed it as far as I dared and then cooled it under cold water to retain the shape. If you are familiar with the model you will also notice the hands have been separated. That was a tricky bit of work but I was able to do it and not mess up the hands too much. I then had to drill out the left hand so I could slide the wooden banner pole through it. Drilling was slow but only because I spent a lot of time making sure the angle was right so I didn't make a wall to thin or angle it. I then rotated the arms a bit and had to trim some of the upper arms attached to the torso to get the pieces to match up better. It was getting late and I really should have gone to bed but instead decided to make one last cut. The head of the weapon needed to be rotated so it looked more natural in the new position. This was probably the easiest of all the cuts to make as it was just cutting off the handle from the base of the blade. Well as you can guess things didn't go quite as planned. The good news is the cut was perfect and I cut exactly where I wanted to on the piece. The bad news is I was tired and not paying attention to where my support hand was and you can see the result here (I intentionally did not imbed the picture in case some people don't like the site of blood. Though anyone who has been in this hobby for any period of time and done conversion work has likely seen their own blood on more than one occasion

):
https://lh5.googleusercontent.com/-Irq- ... 605862.jpgWhen it happened there wasn't much pain as I had just replaced the blade and it was extremely sharp. I looked at my finger immediately after I made the cut because I could tell I just did something stupid and there wasn't much blood at first. Then it just came streaming out. I got it cleaned up and took this picture just before bandaging it up. Fortunately it was relatively shallow and straight across my finger so no tendon damage or anything more serious than a loose flap of skin. So moral of the story, don't use a blade when you're tired!


