Thanks Mariano
Yeah still loads to do and I'm off on holiday on Friday so this will probably be the last update for a while.
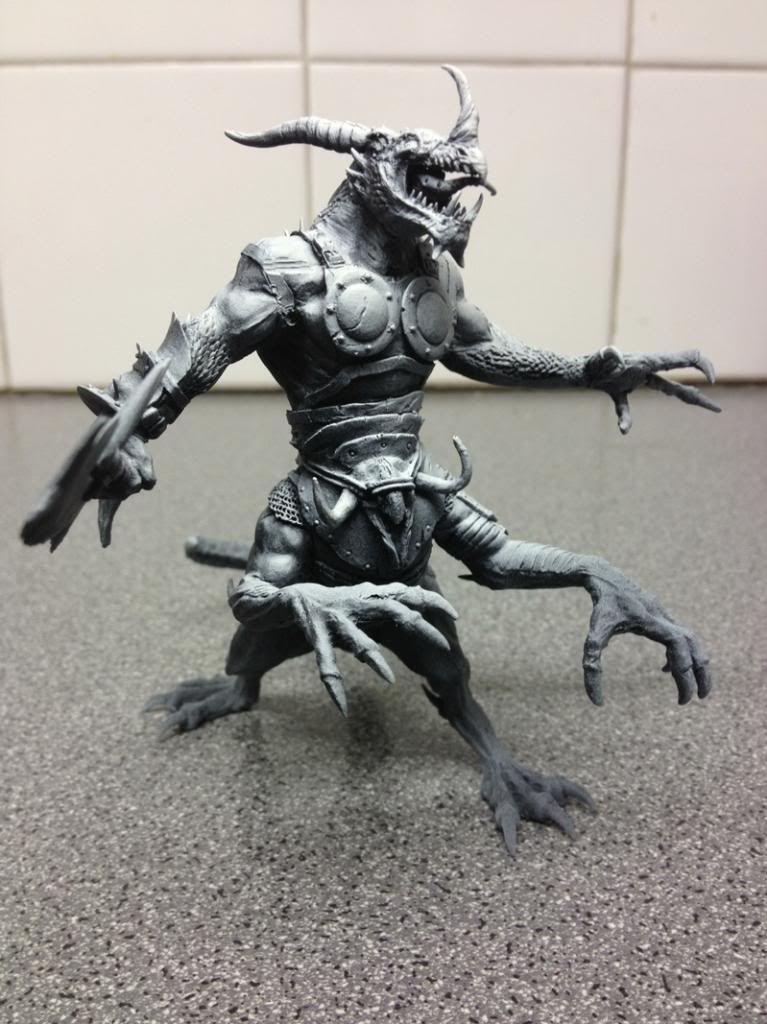
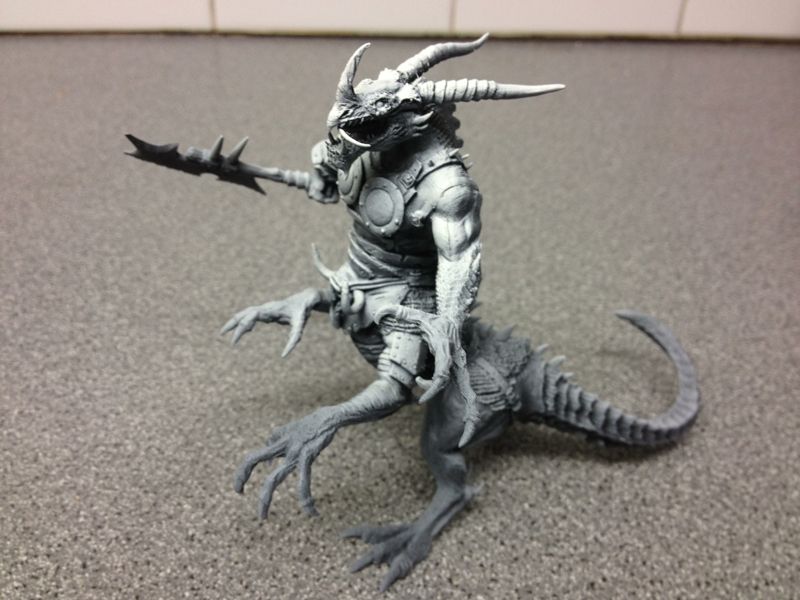
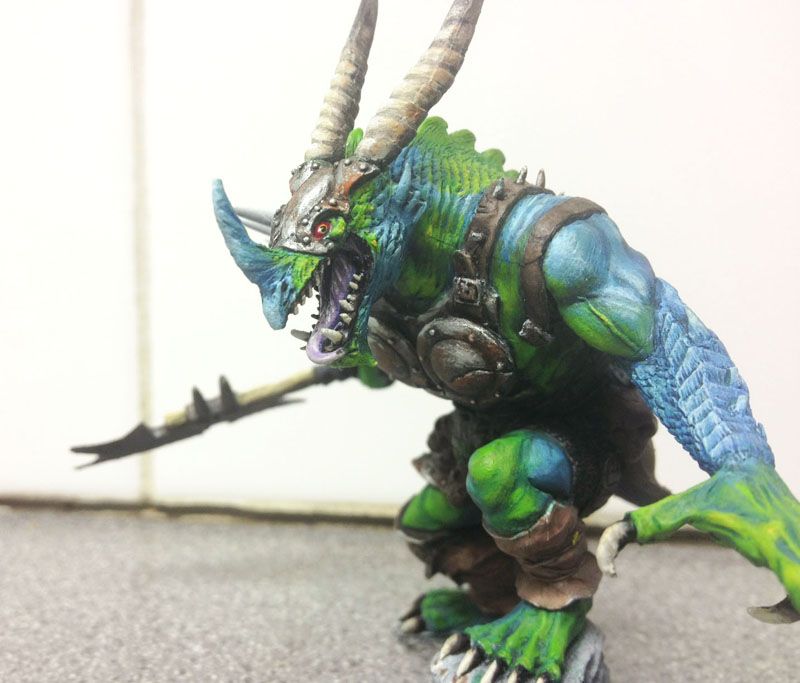
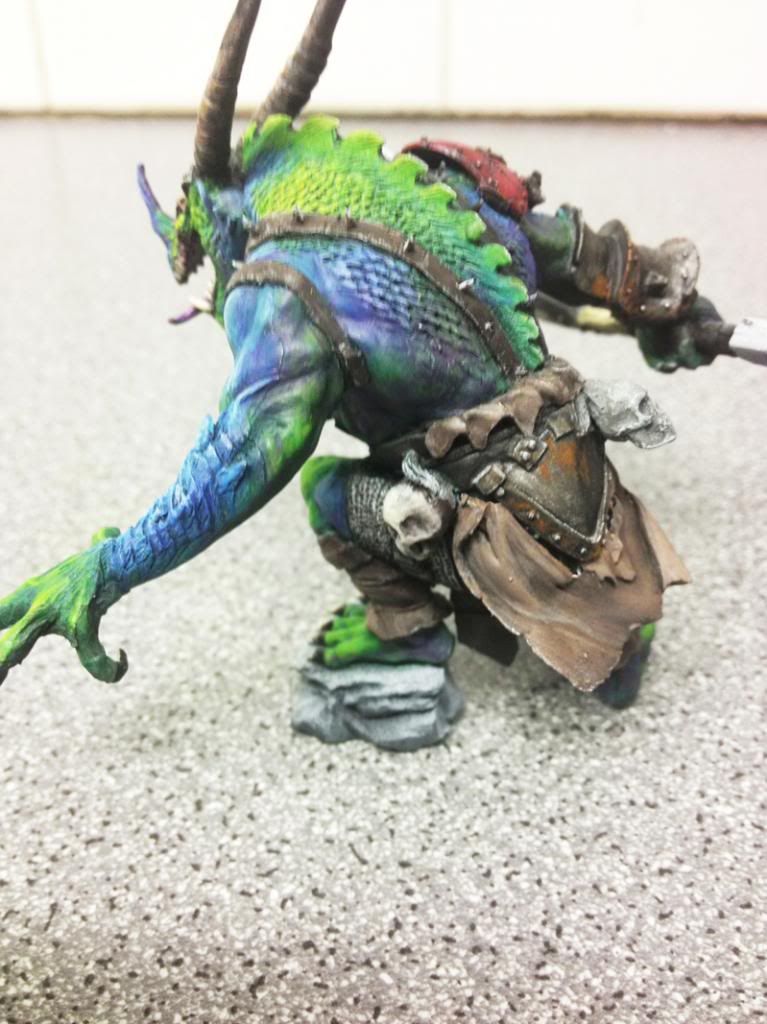
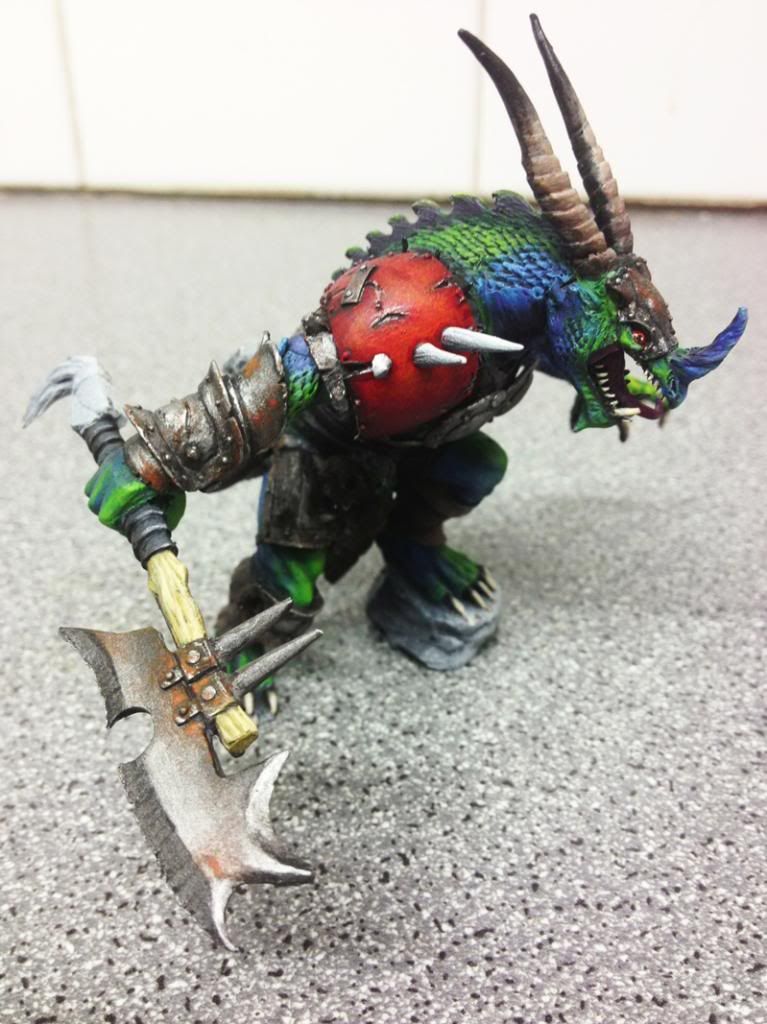
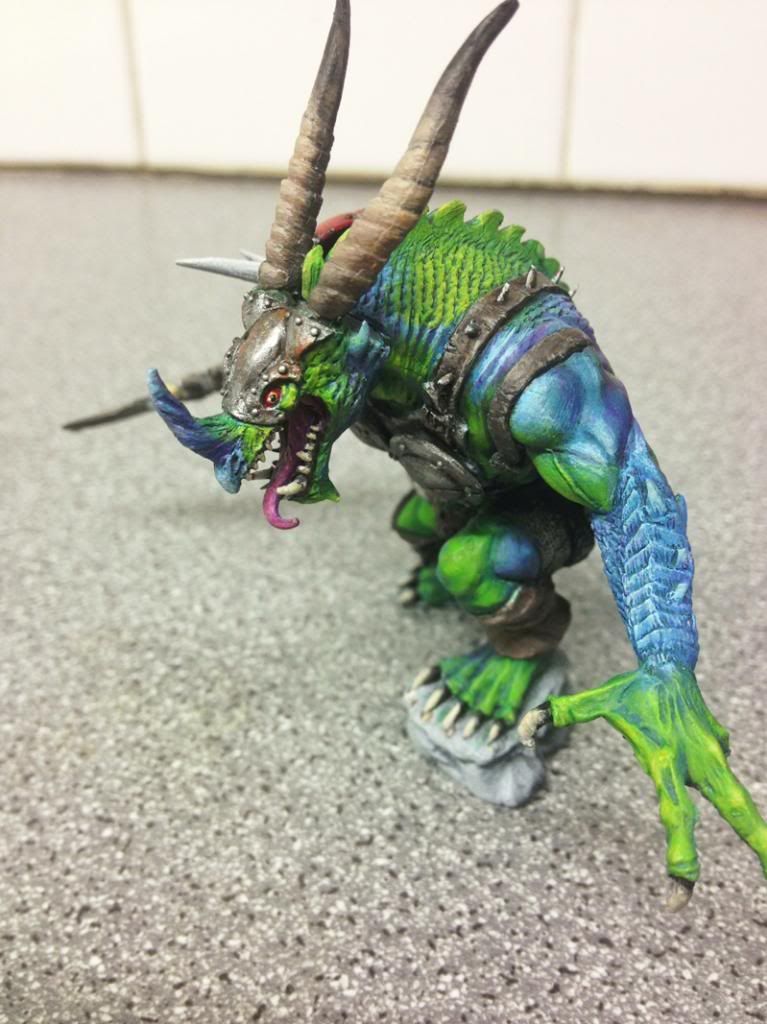
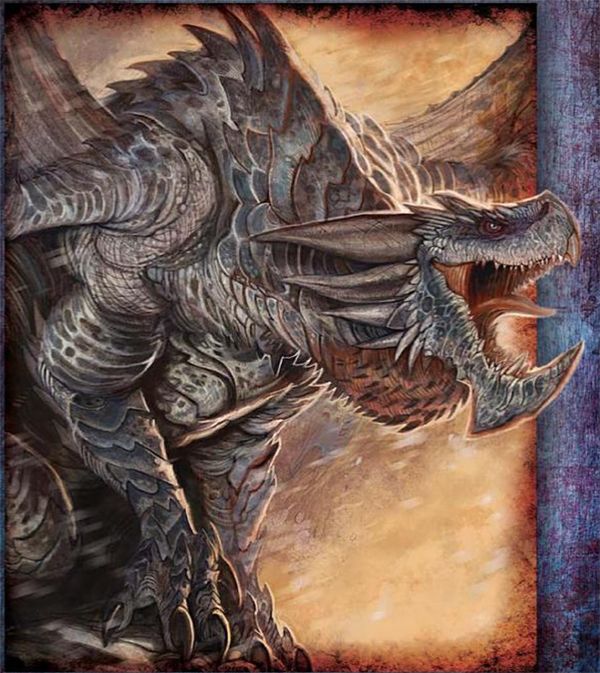
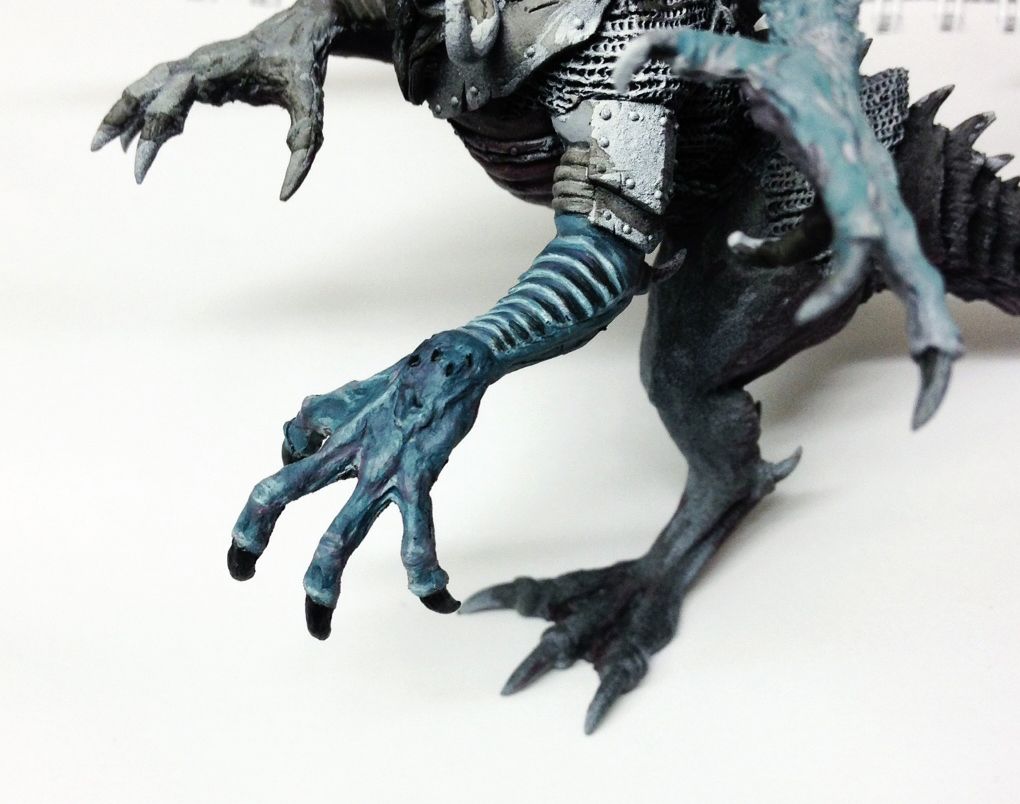
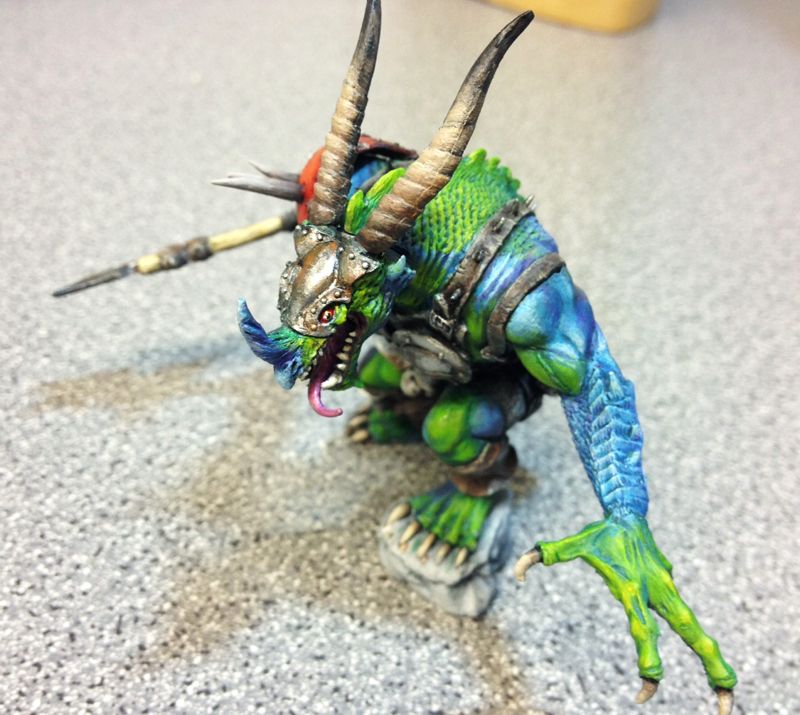
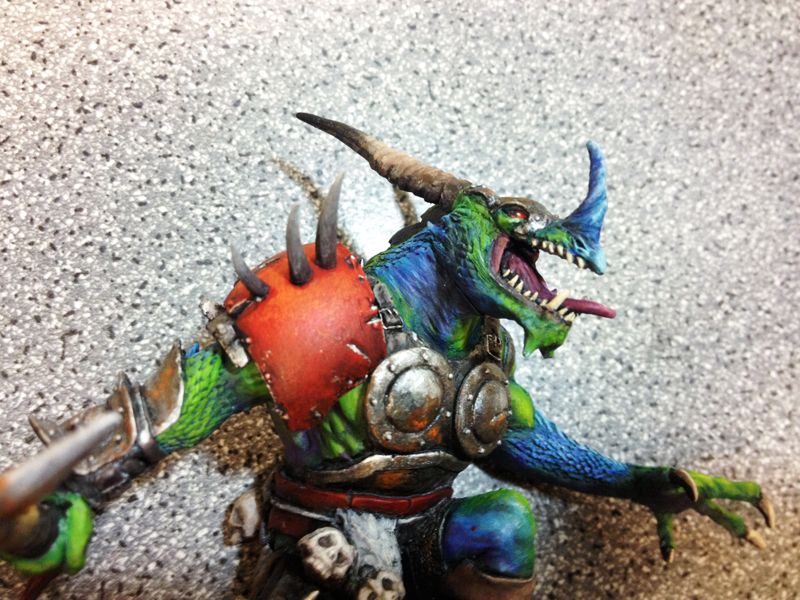
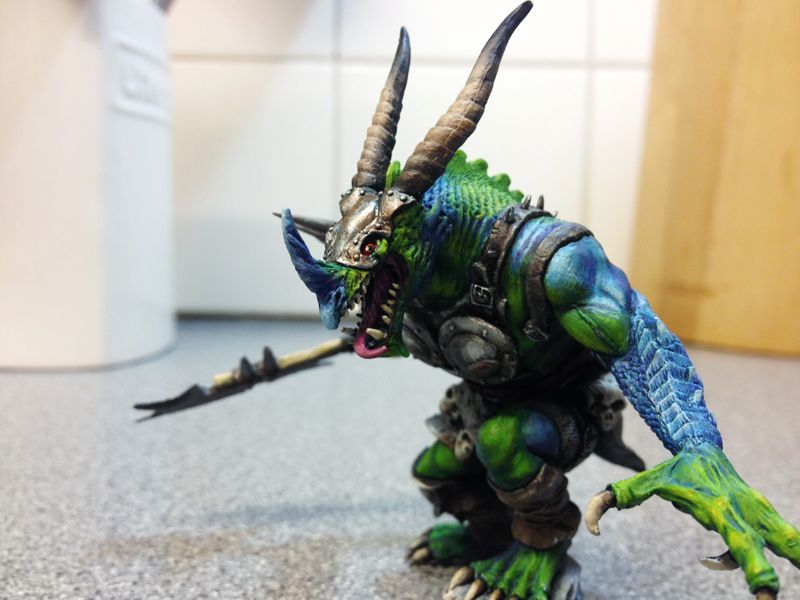
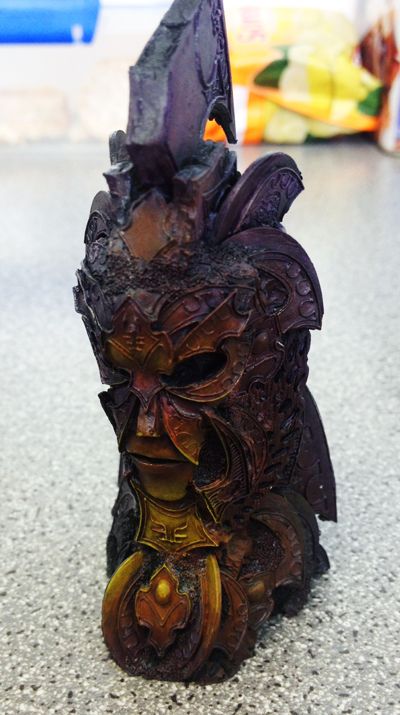
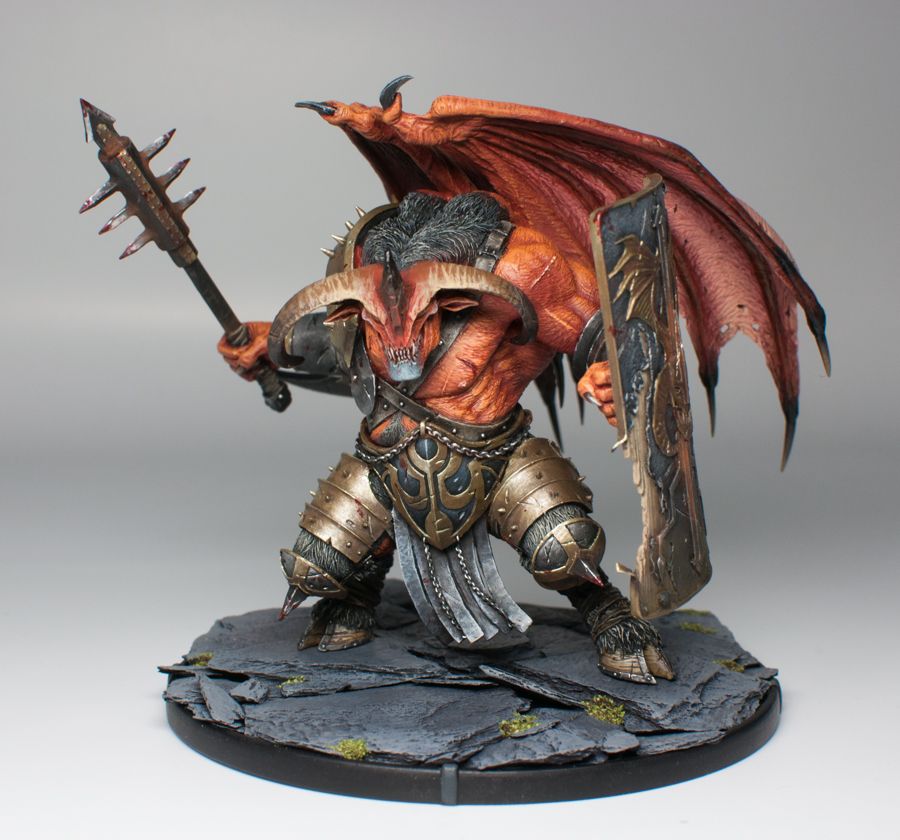
Malacant does already have some purples and blue running through the shadows, red and orange for mid tones and I will add a little more orange for the highlight (it's not very promanant in the photos as there a little rubbish) The body wont have quiet the same colour palette as the head as the skin of the face is pulled very tight over the bone. In my head this would change the amount of blood there and lead to more bleached colours. Also I want the face to be a real focal point, hence the difference.
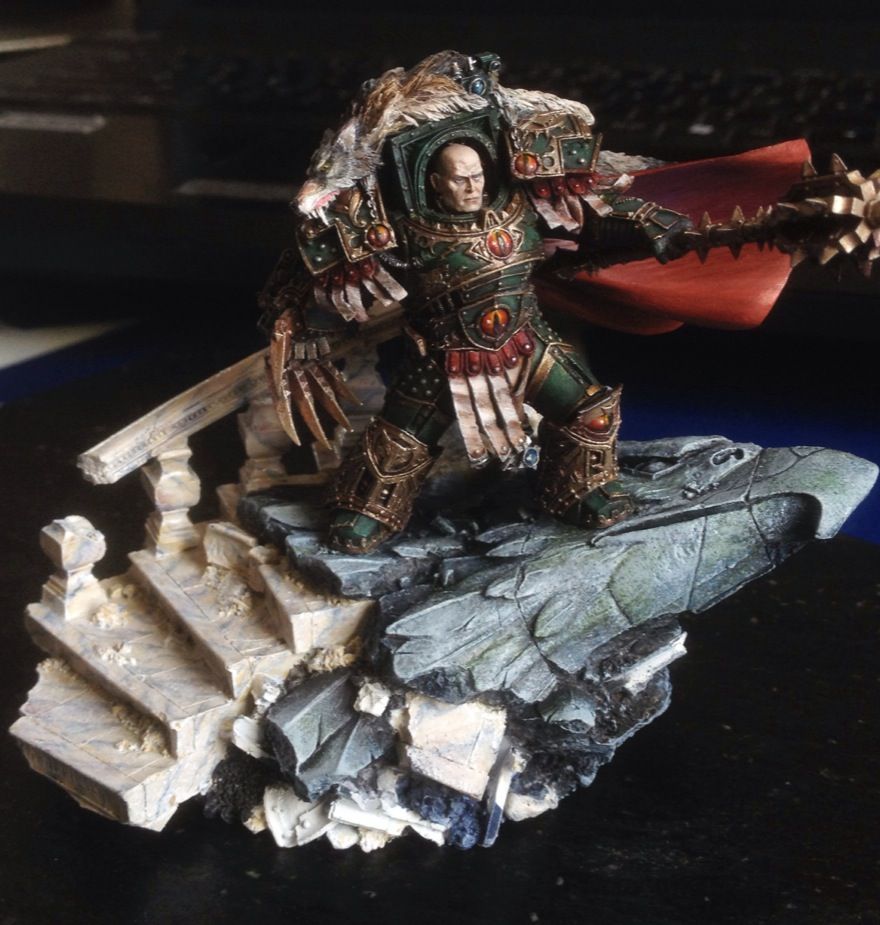
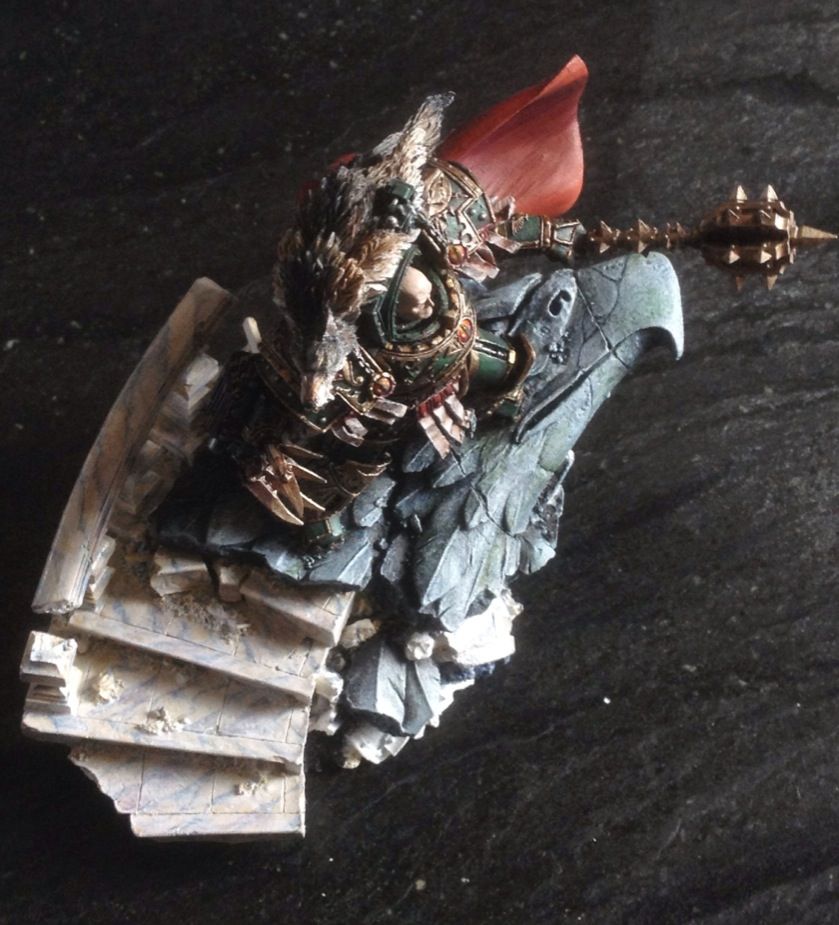
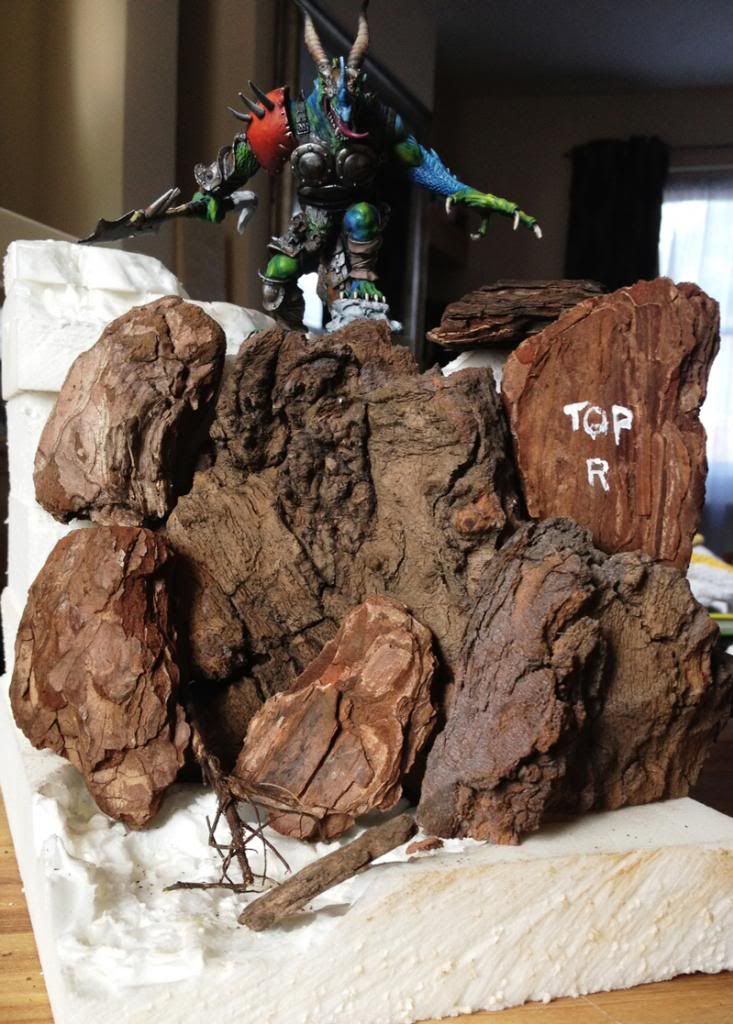
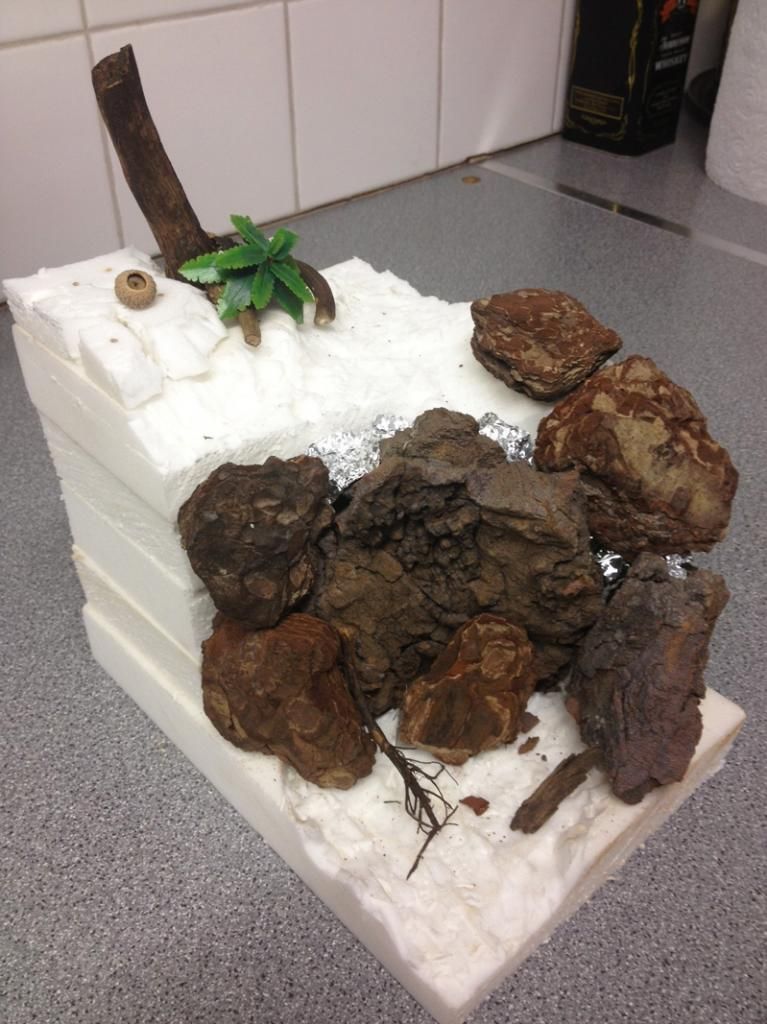
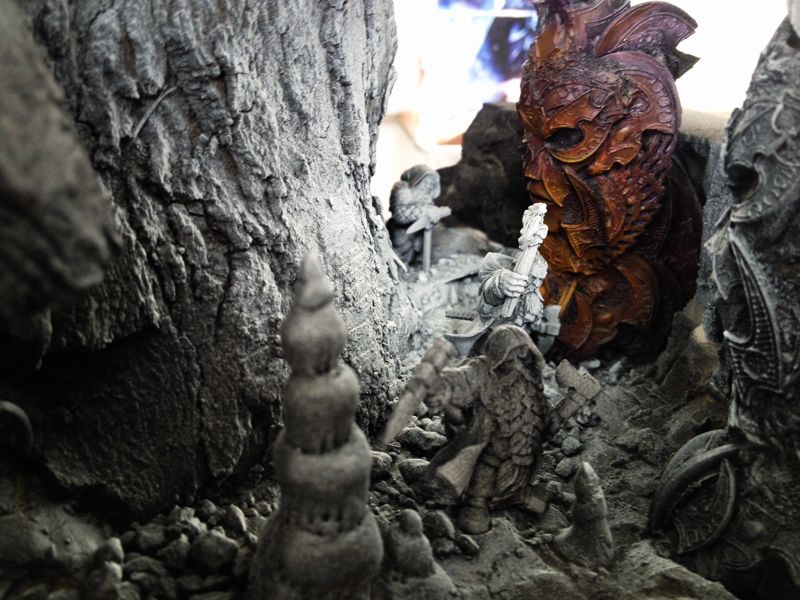
With the marble on Horus I did actually realise what I'd done after the first step and tried to correct it for the rest of the stairscase (which was lazy of me as I should have redone that area) As I say, I was really only experimenting with the marble and it came out far better than I'd hoped it would. That's why I was hesitant to redo it.
I would have loved to do it bronze but unfortunately it's sculpted as rock. With that in mind I decided to try a stippling technique one of the guys on Coolminiornot used very successfully on a dwarf dragon slayer mini. While my attempt is nowhere as good I think the contrast works well.
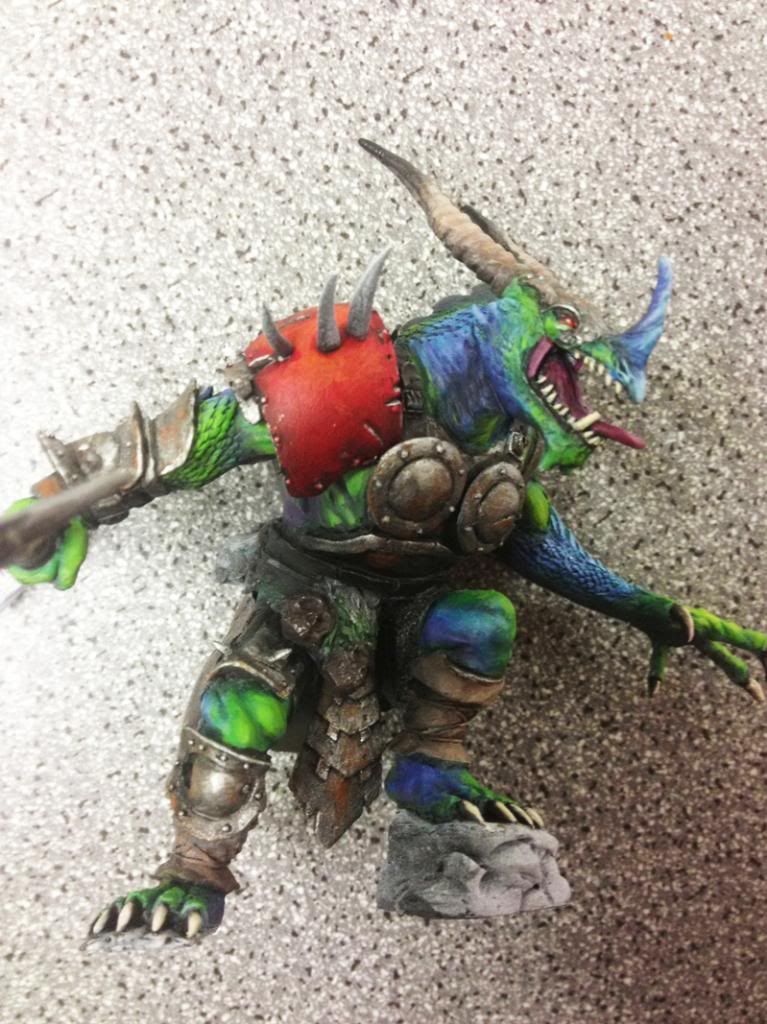
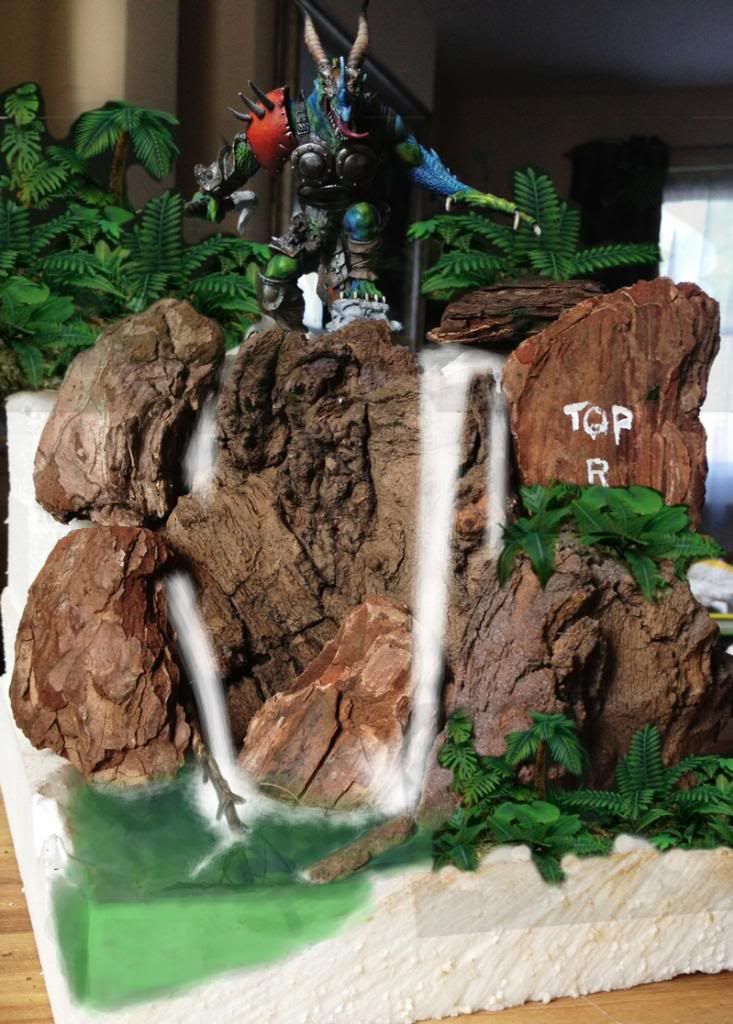
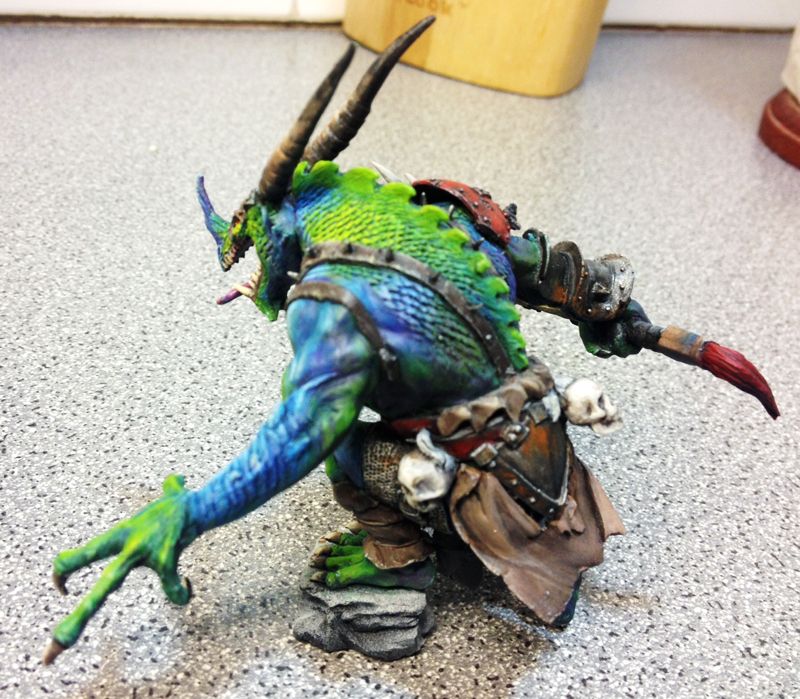
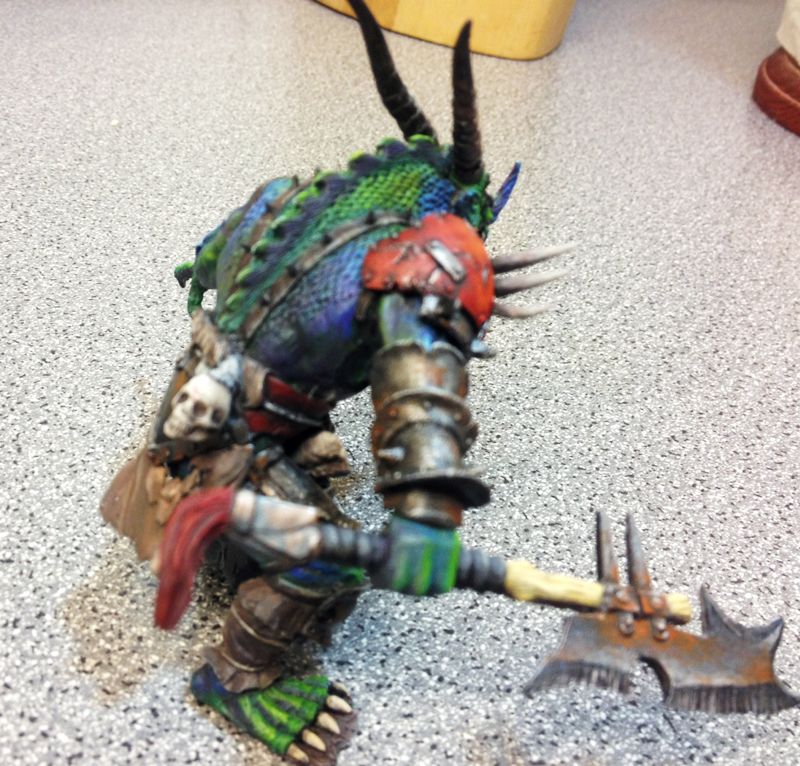
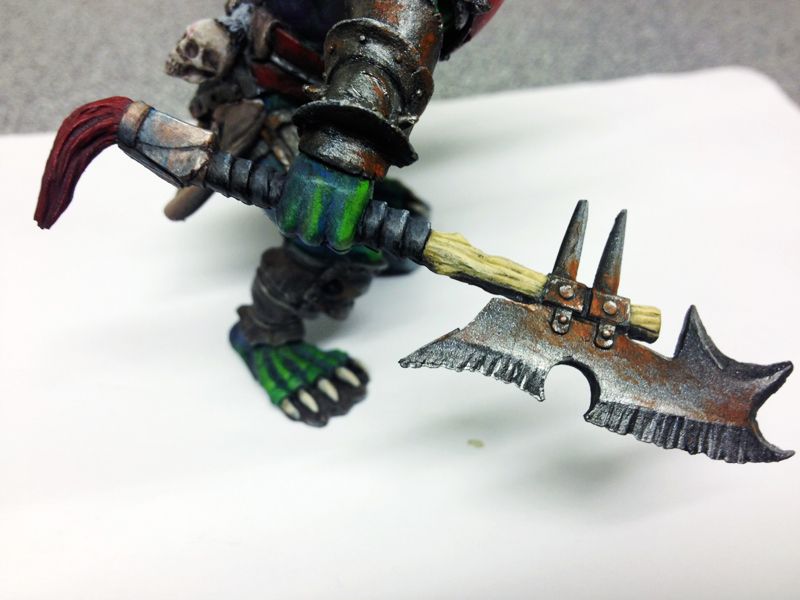
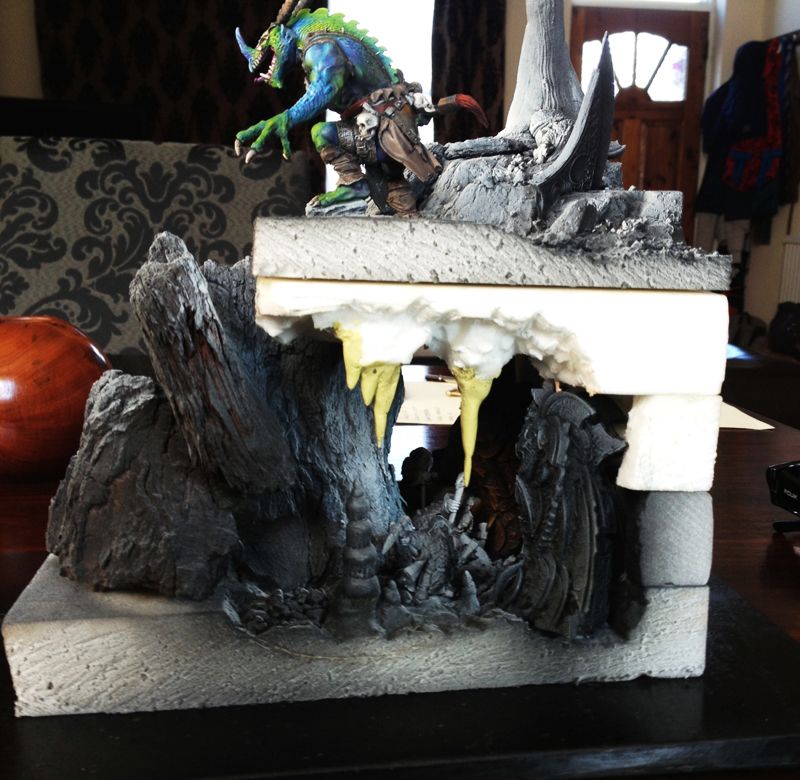
Now all I've got to do is tidy up a few bits. Ppaint the odd skull, pauldron and steel reinforcement and I'm done. The only other thing is I'd like to try is dirtying up the base a little more. I'm thinking of using some weathering pigment. I've never used them so don't no what would work well. Any ideas?