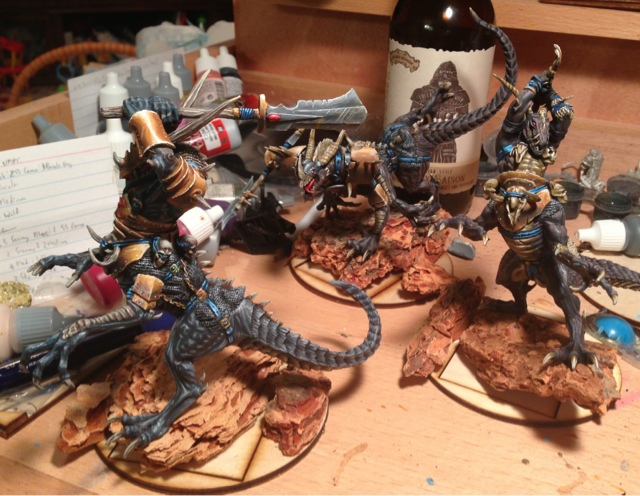
Ten days since my last WiP, and there's one more Cawrdraig left on my desk to work on. In the interim, I've gotten my best friend married off, fought through a little illness with my two small children, and drank quite a bit of beer! Enough about that, though; you're here to see what insane concoction I've done this time! This is the last Cawrdraig that will have the purple skintone, so let's see what I can do with it!
This is the one I've been waiting and wanting to paint the most, because of the amount of conversion put into this guy. I came close to losing the side of my thumb cutting this guy apart, so now's the time where I get to see if it was worth it!

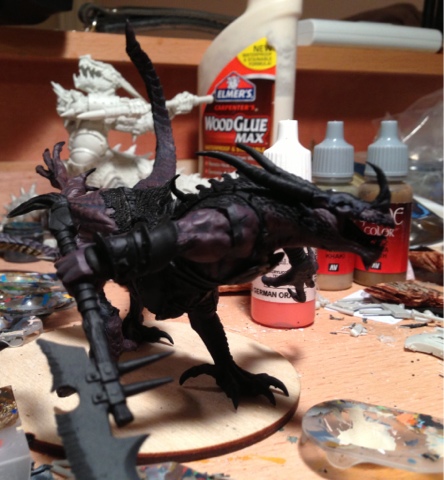

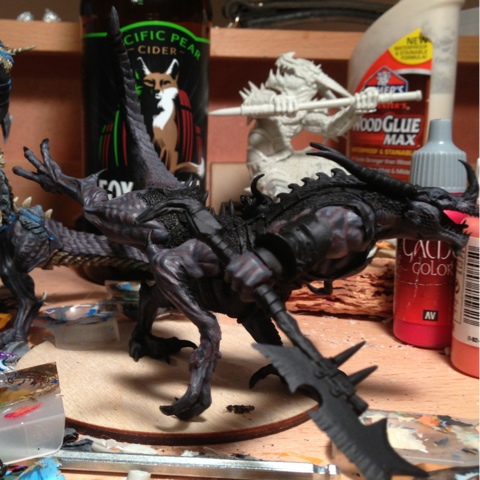
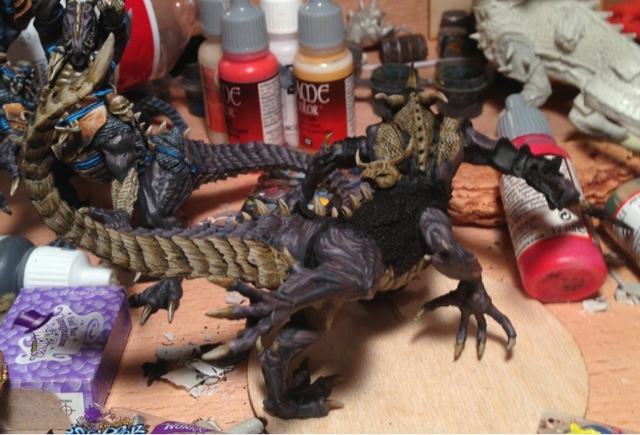
Intro layers of skintone. Since I've already painted up two of these bad boys here and here, I'm going to be focusing less on the step-by-step work of the layers, and more on the process of painting the same model for a third time.
First off, there's a trap that would be very easy to fall into with this model; specifically, painting it the same way I painted the other two. This is a very easy pattern to fall into when you're painting the same (or similar models) over and over, especially with the assembly-line type of paint format I usually use (where I paint a single layer on 5-10 models at a time).
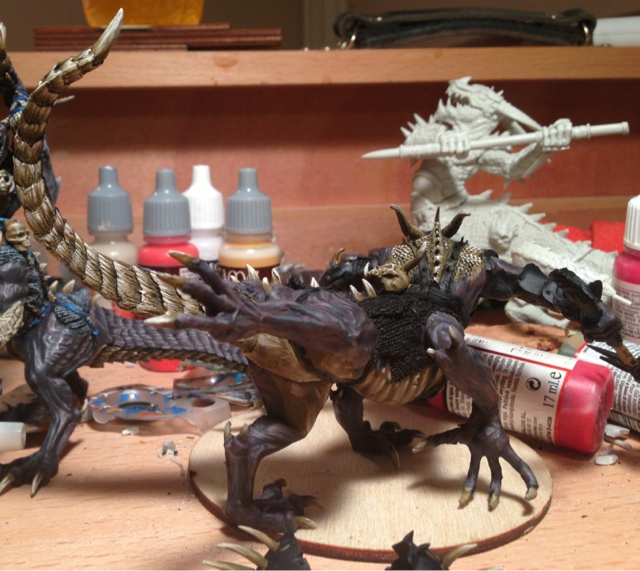
Because of the conversion work that's been done, I can't just blindly follow the same highlight pattern I used before. There are similarities, but because the hips has been repositioned, the light is going to strike the model slightly differently. This is most visible in the tail, which actually turns upward as it gets closer to the tip. When highlighting the skin, I have to redo all the visualization in my head about where the light hits, and adjust accordingly.
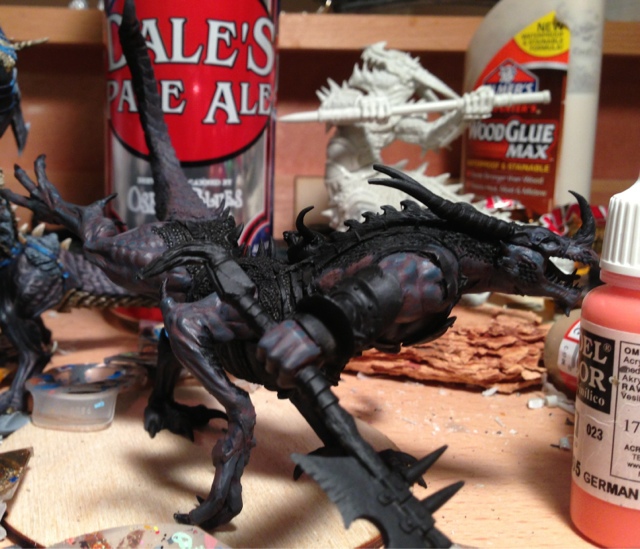
To point out a pair of places where the highlighting must be different because of the model's pose: you can see that the highlights on the tail, rather than going along the ridgeline that gives us the creature's spine, instead are shading up along the edges of the plates of the tail. In addition, the feet are highlighted completely differently, as the light is hitting it from a very different angle than the previous two Cawrdraig.
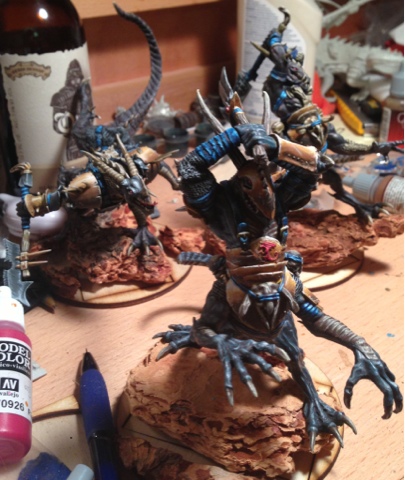
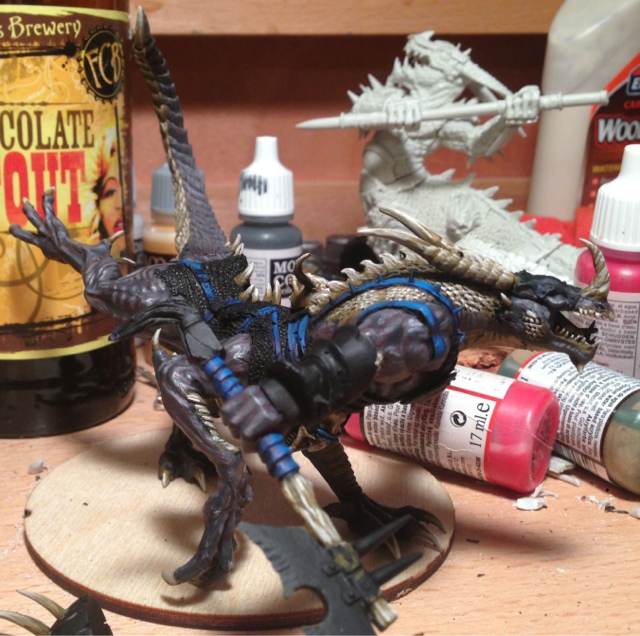
There's a lot going on with the skintone, including my continued attempts to find a purple scheme I like. I went with a bit more red on this layer to get it away from the blues, but fear I may have gone too far.
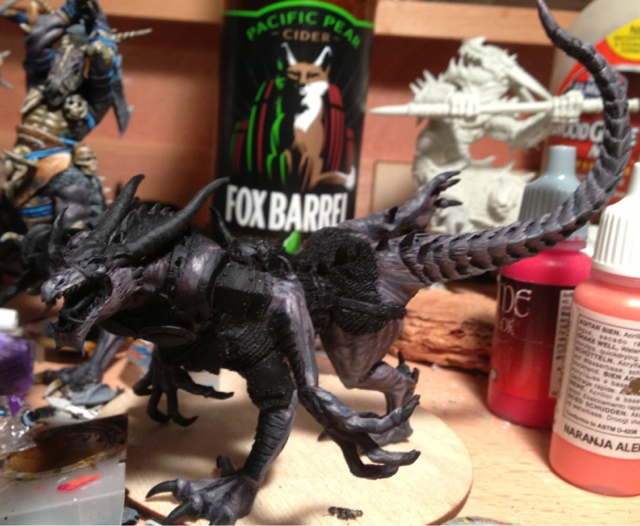
It's OK, though, because the joy of painting is the next highlight can correct it back to closer to where it's wanted! The skin highlights look good, for now. I'm debating coming back and giving all of them one extra highlight for popping, but I'll wait until I have the whole unit painted to make that decision.

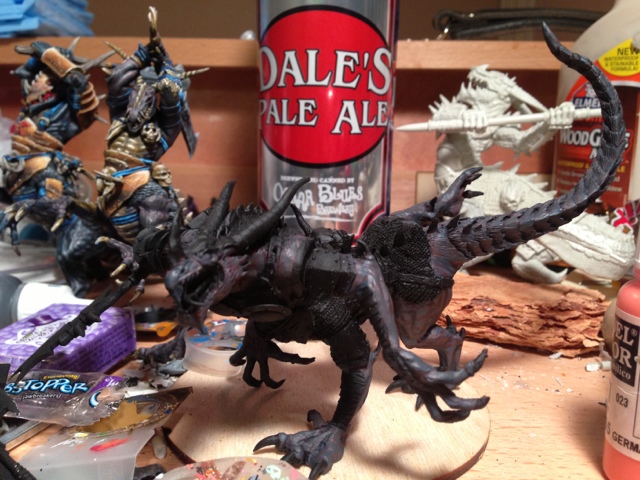
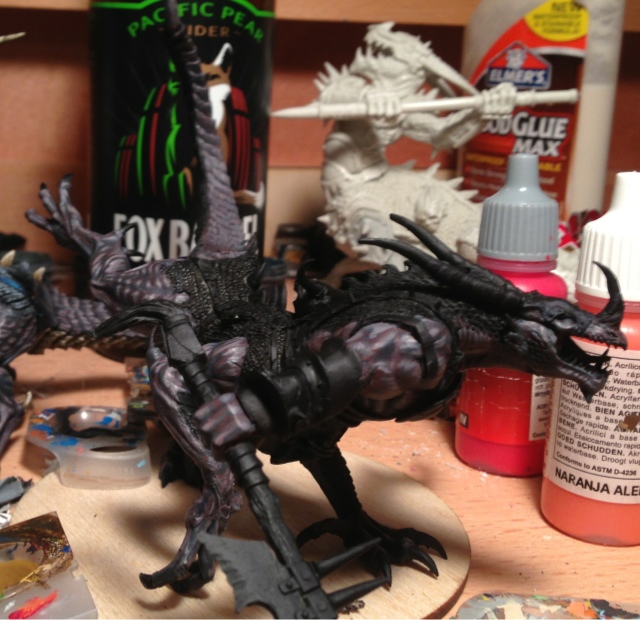
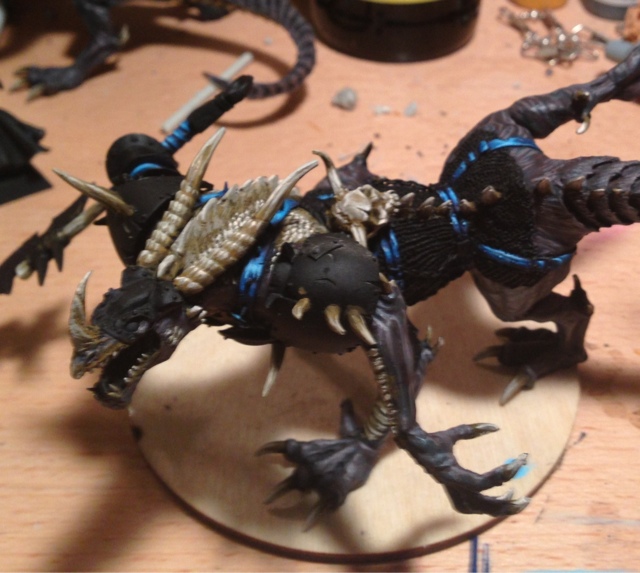
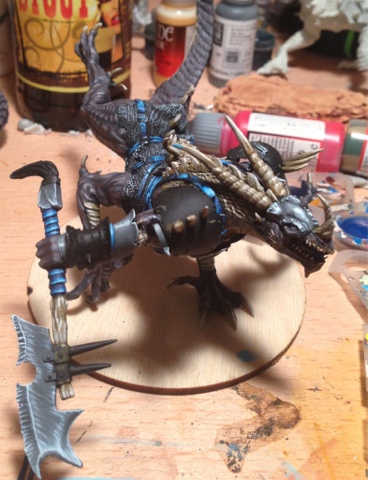
On to the bone/scales/wood color! These photos were taken about halfway through the layering, at the Leather Brown/Medium Grey stage.
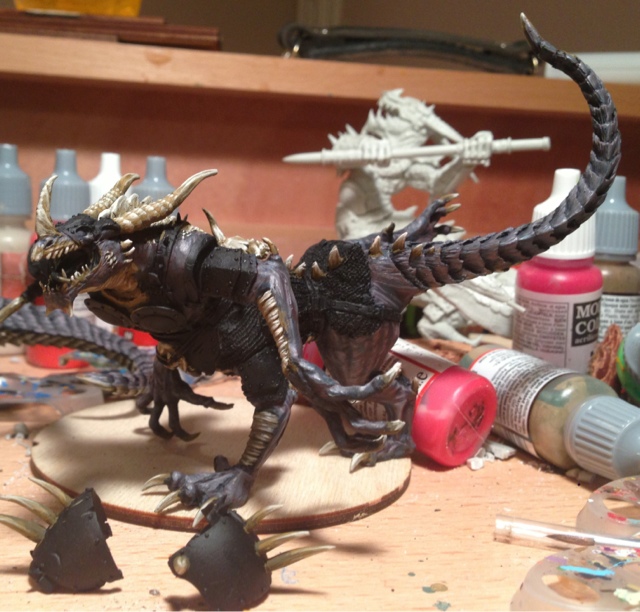
Here, the bone is completed. The earlier models didn't really give a sense of the bone-white underbellies of the creatures, so having this one posed so dramatically gives me a chance to show that detail off, especially on the tail, where it really pops through.

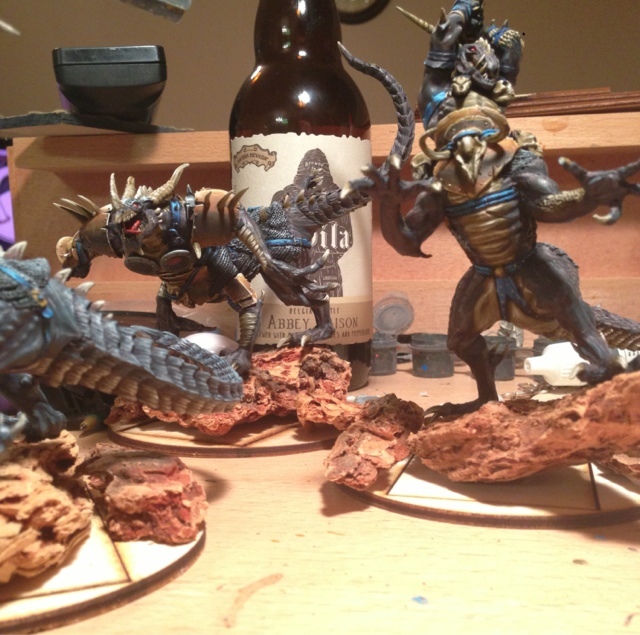
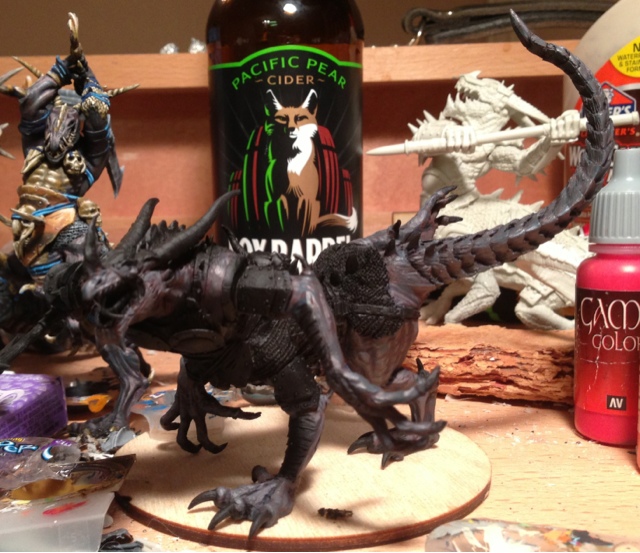
I've moved on to the blue here; this is about three layers in. One of the things this vibrant blue layer does is give the model some color and make the palette a lot more interesting. One of the traps that's easy to fall into with miniatures painting is to make everything dark and gloomy. Adding sharp colors like this can take a dark, gloomy model and give it a little spark of life, and bring some playfulness into it.
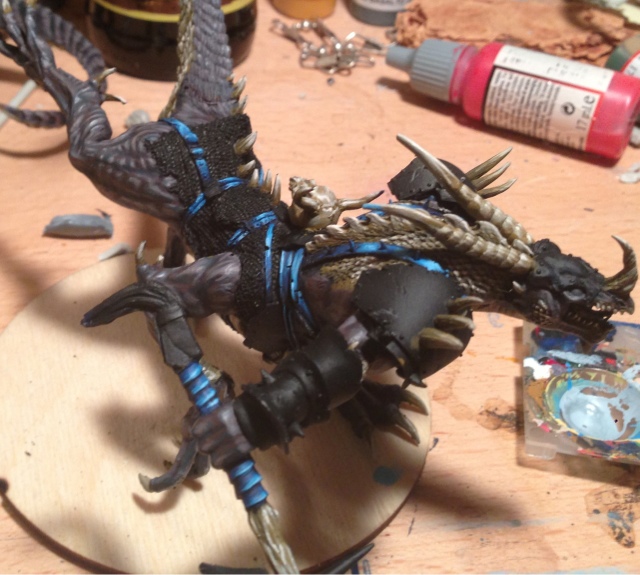
The blue's all highlighted now. I'm not going as light with my highlights on these guys as I normally would, because the Darklands aesthetic that I've seen so far seems, well, dark. Instead, I'm starting my layers one shade darker than I normally would, and stopping the highlighting one shade early. The darkness-to-light contrast ratio is kind of the same, so the model still "pops" in my style, but it's not highlighted up to a step away from white. If I become really upset with the way it looks, adding that last highlight to everything will probably be my first step, as I mentioned earlier while discussing skintone.

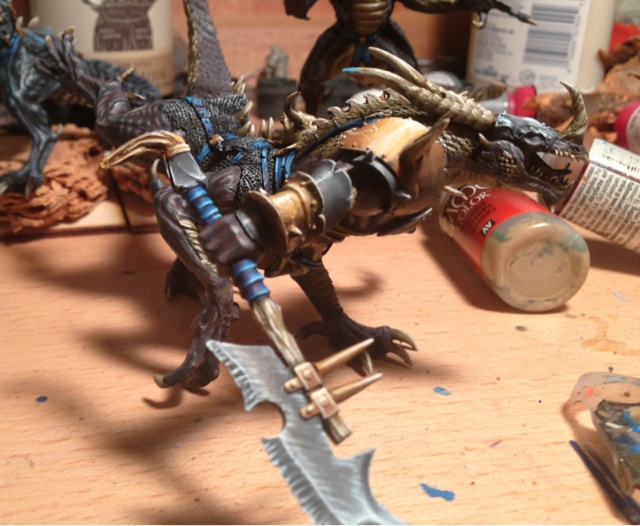
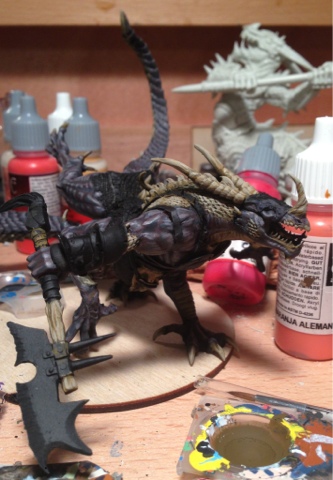
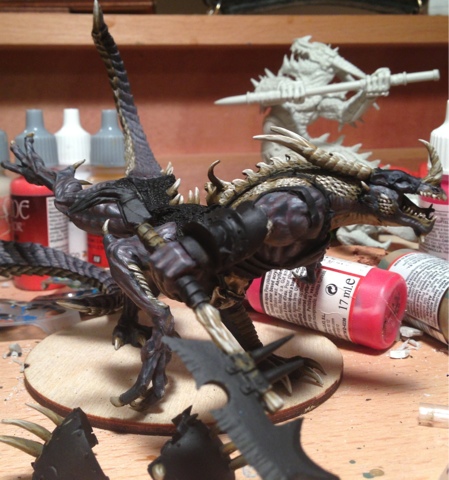
Next up, we add some non-metallic metals. The chainmail was a nice little challenge, because the highlights hit it completely differently when the model is standing this way. There are ripples to the chainmail that get picked up in a different way because of the angle the light's coming from, which makes it seem like I'm painting a new model and not the same one for a third time. I also made the decision to do the head armor in iron instead of the gold I'd been using for the Cawrdraig, to set it off more from the horns and claws (which share a similar color palette with my bronze).
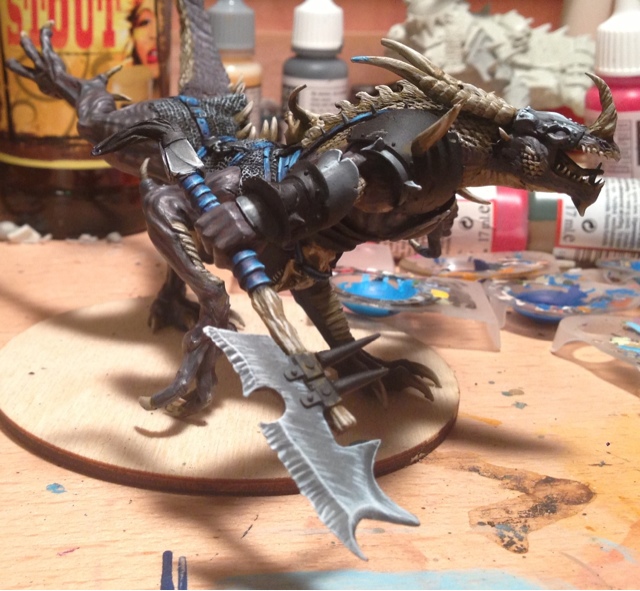
The sword blade, as usual for a model like this, was done last. For most of my NMM it's a combination of layering and wet blending to get the transitions right. For large, flat surfaces like this, I prefer to just wet blend the entire piece, and then come in and pick out the highlights later. It adds a rougher, more burnished look to have these linear highlights come in over a wet blended metallic, and makes them seem like scratches and reflections, rather than random freehand.
Remember me talking earlier about not highlighting up to white? I kind of lied about it; with NMM, I always come in with a touch of pure white to finish up the metallic effect. It's very visible up top on the mask, and on the bracer on his right arm.
Only one layer left, and that's the bronze! To be continued tomorrow...