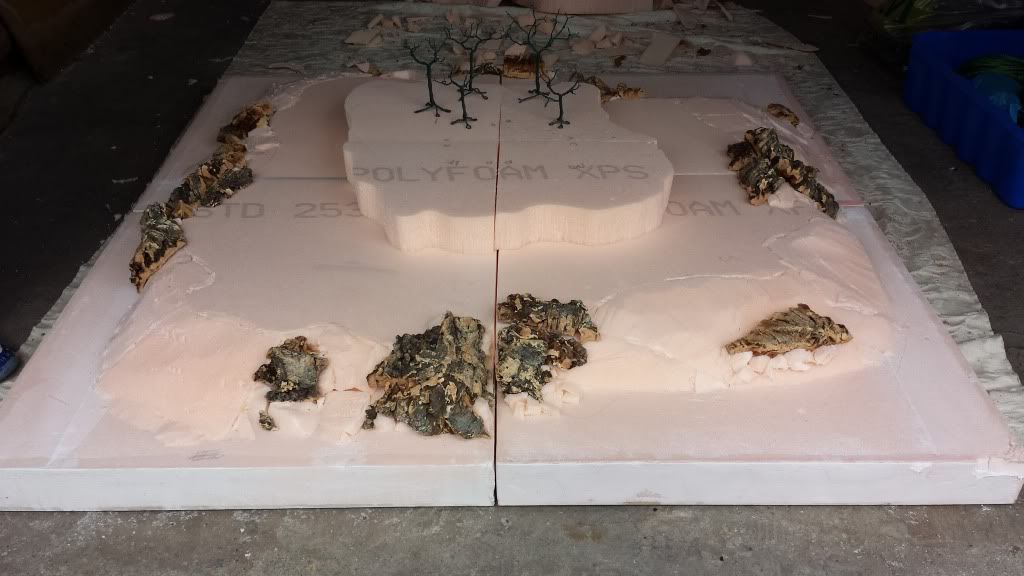
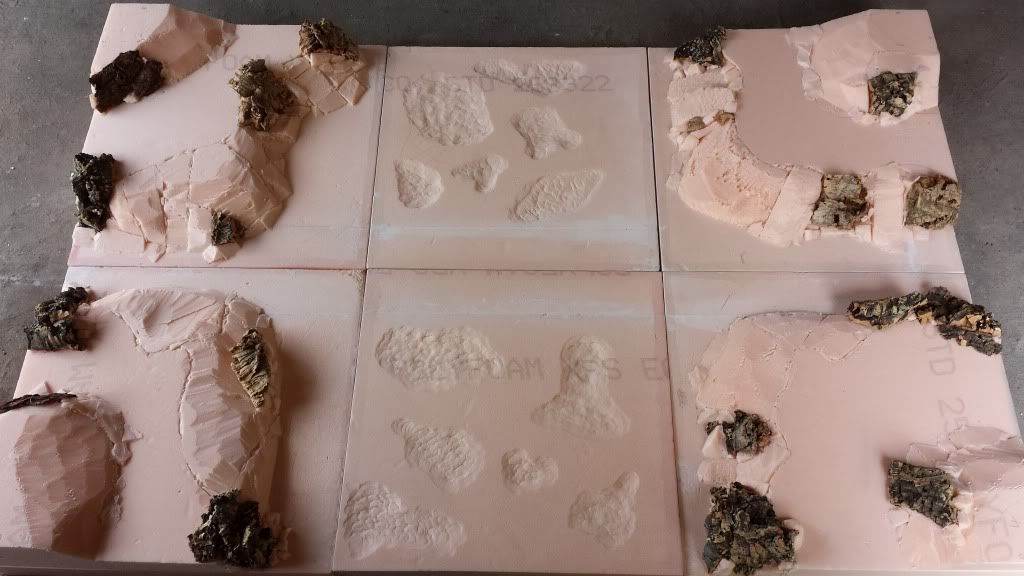
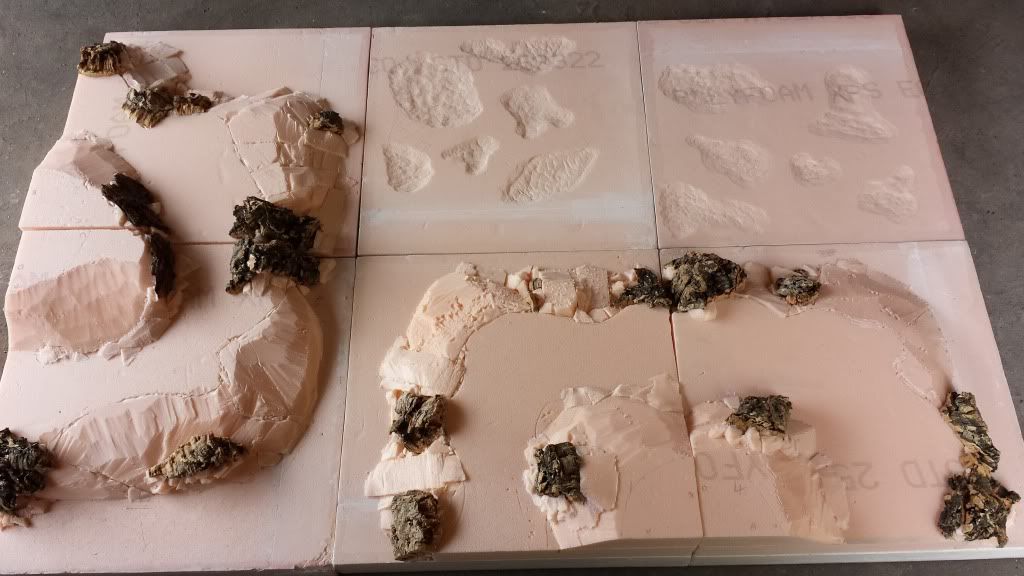
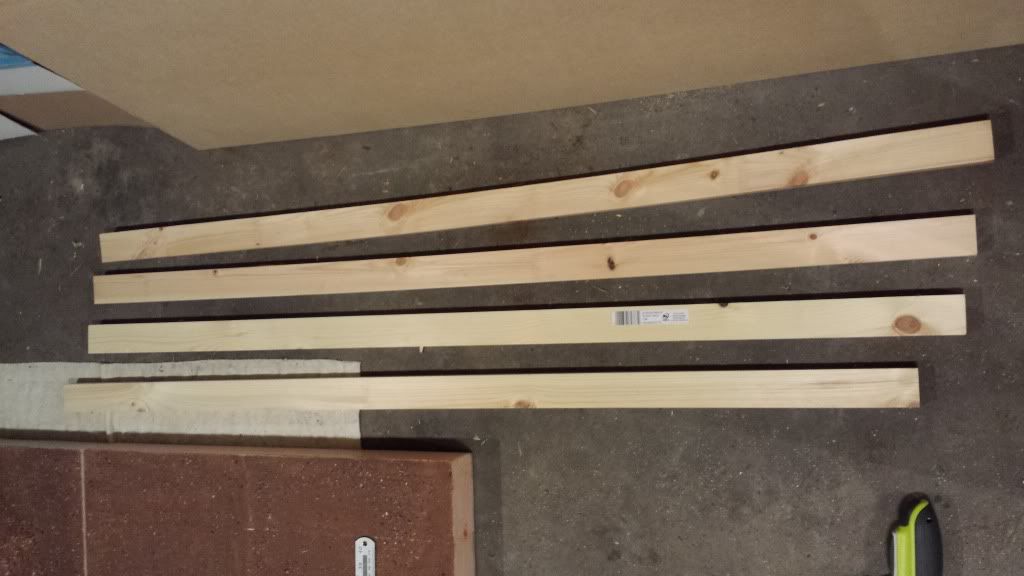
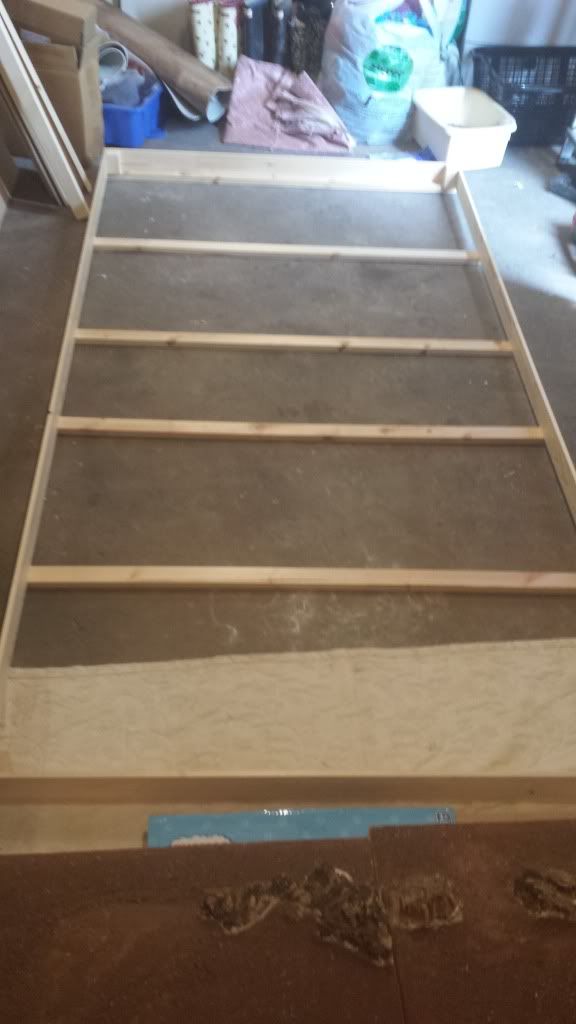
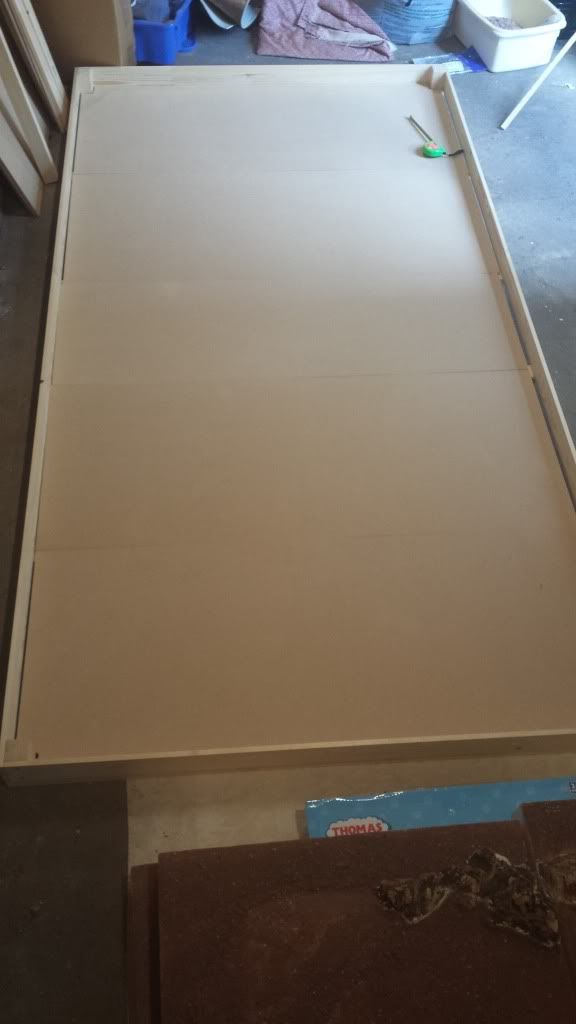
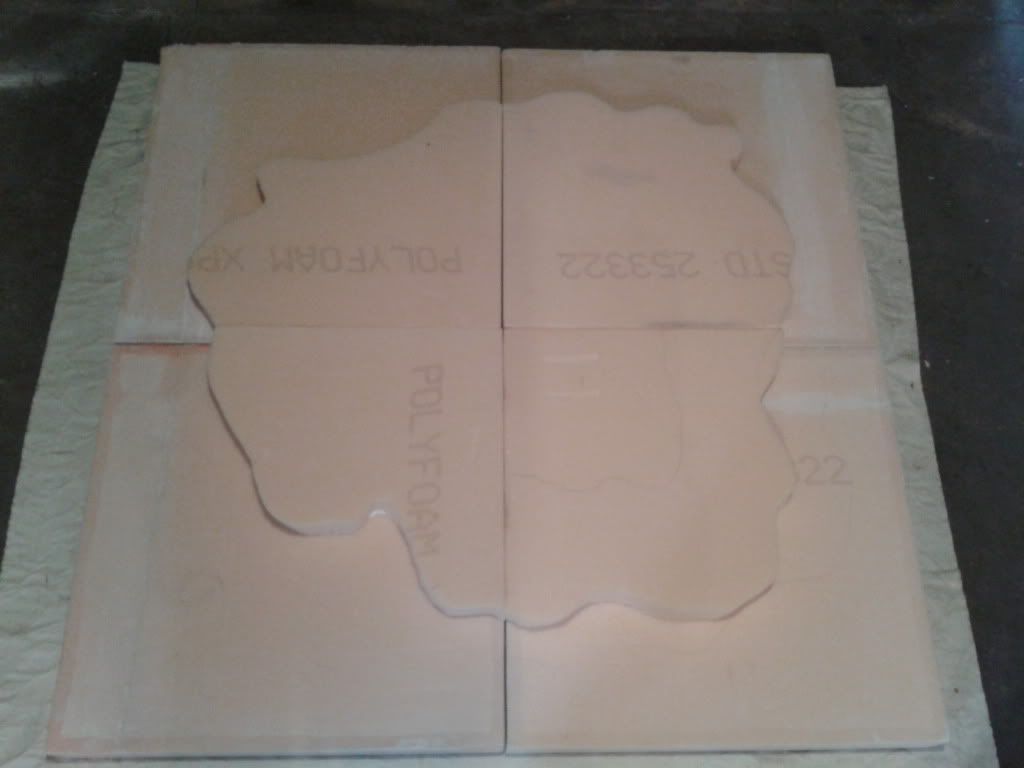
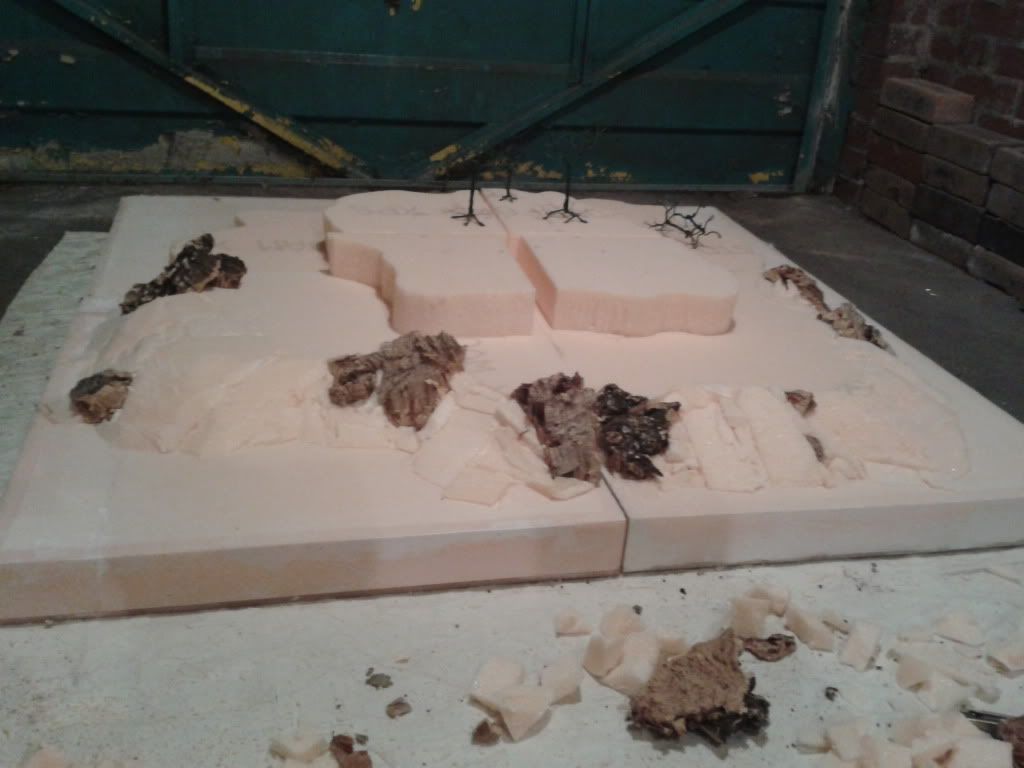
I laid my foundation boards out in the intended formation and then placed another layer of foam on 4 of them like this

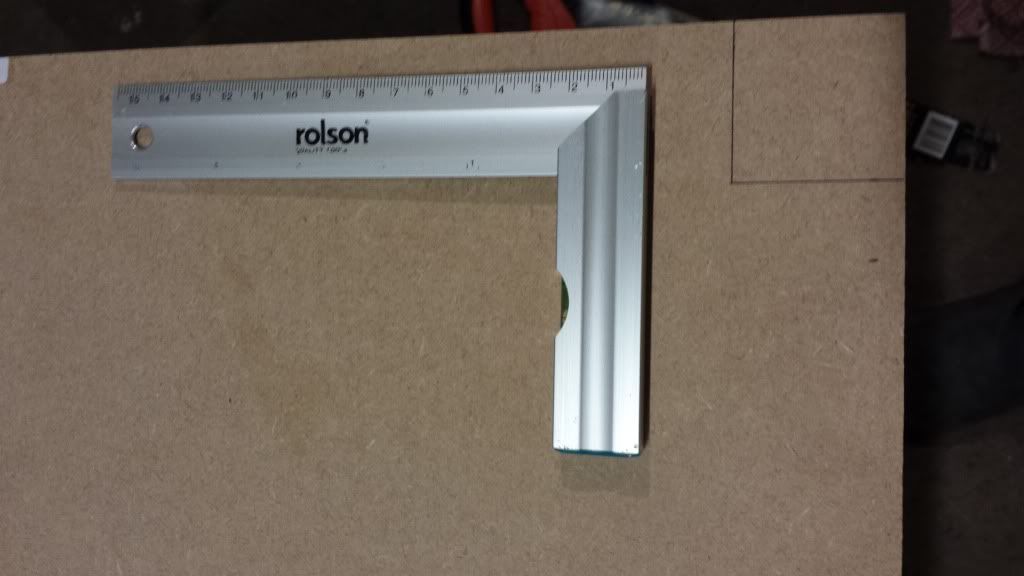
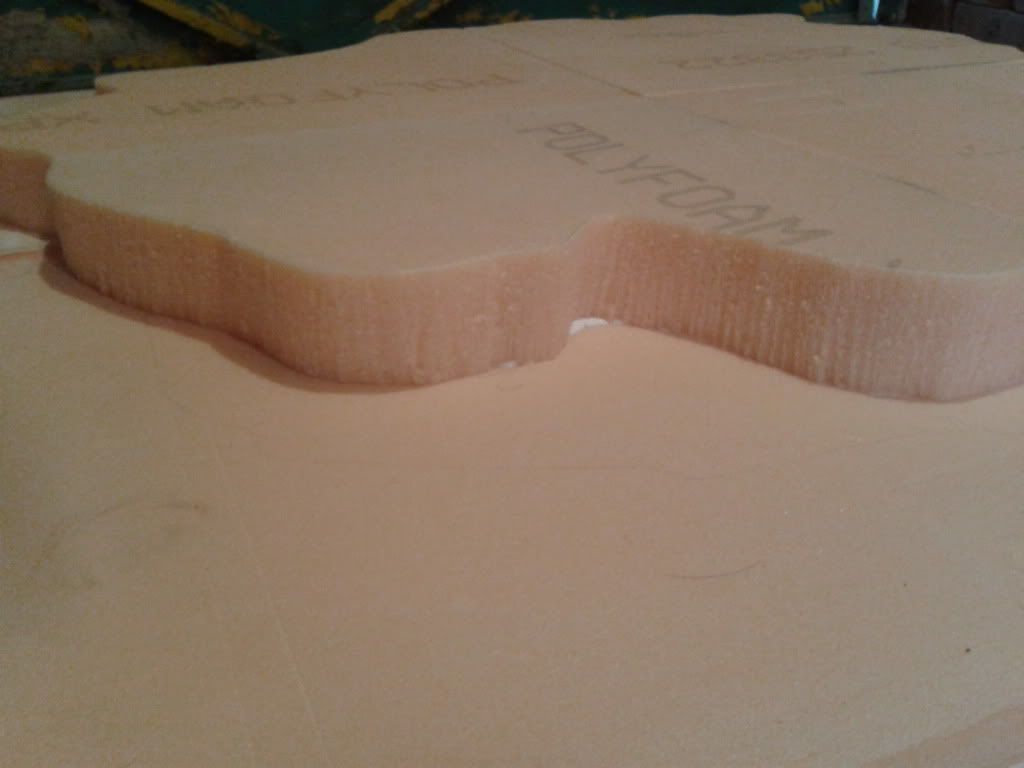
I then drew a rough hill shape on them. Making sure that where each one met the next, would be exactly 17" from the centre. By doing this I can ensure that whatever configuration I use for the boards each game, the sides of every hill will match all the others and line up to create 1 large hill as shown or 2 half hills along the sides or ends or 4 quarter hills in the corners.


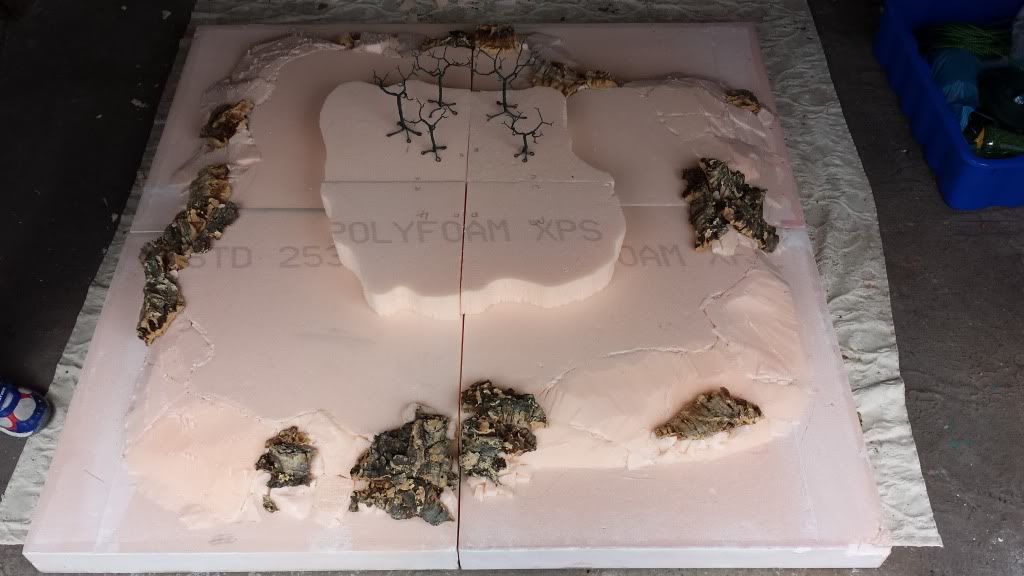
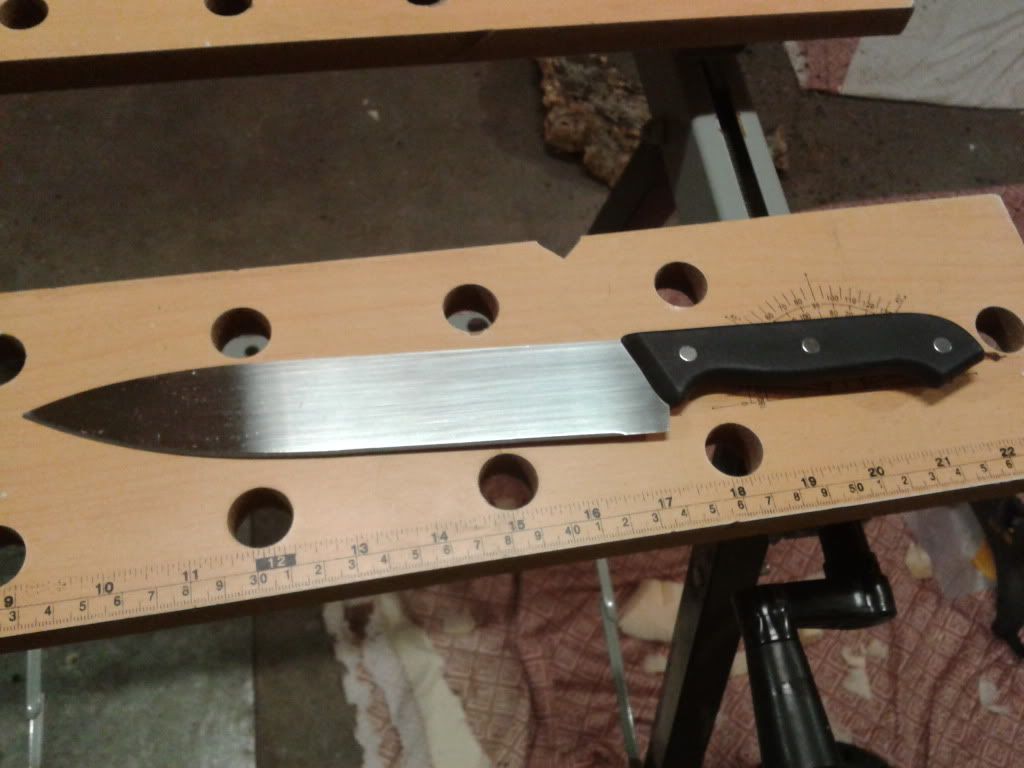
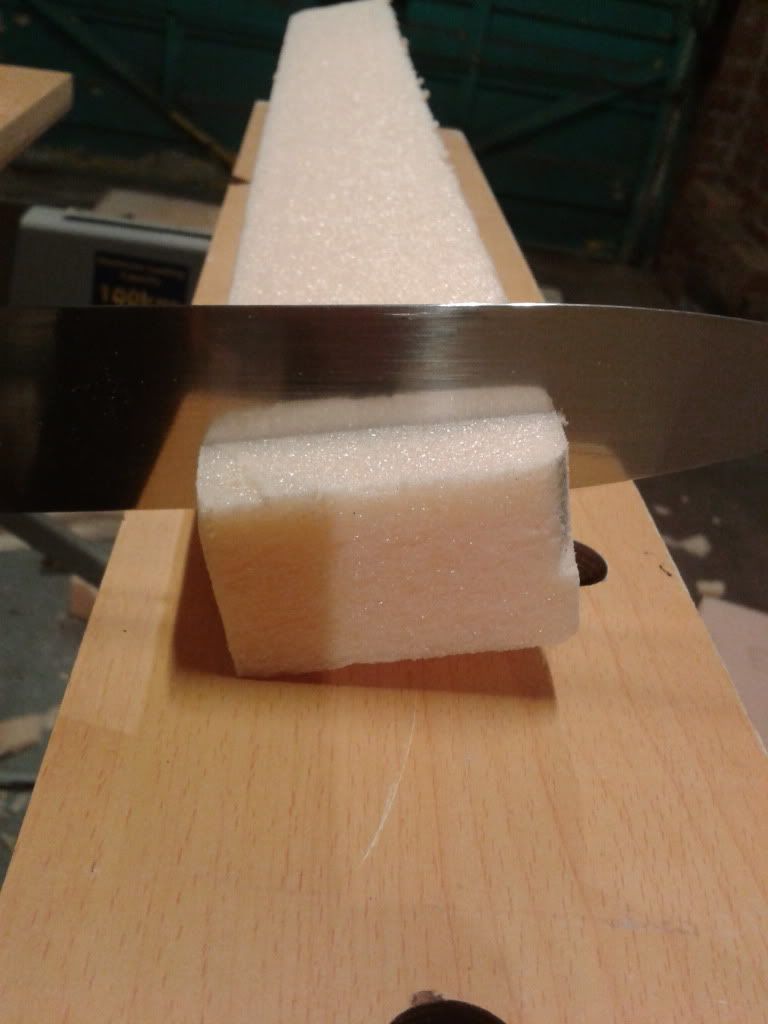
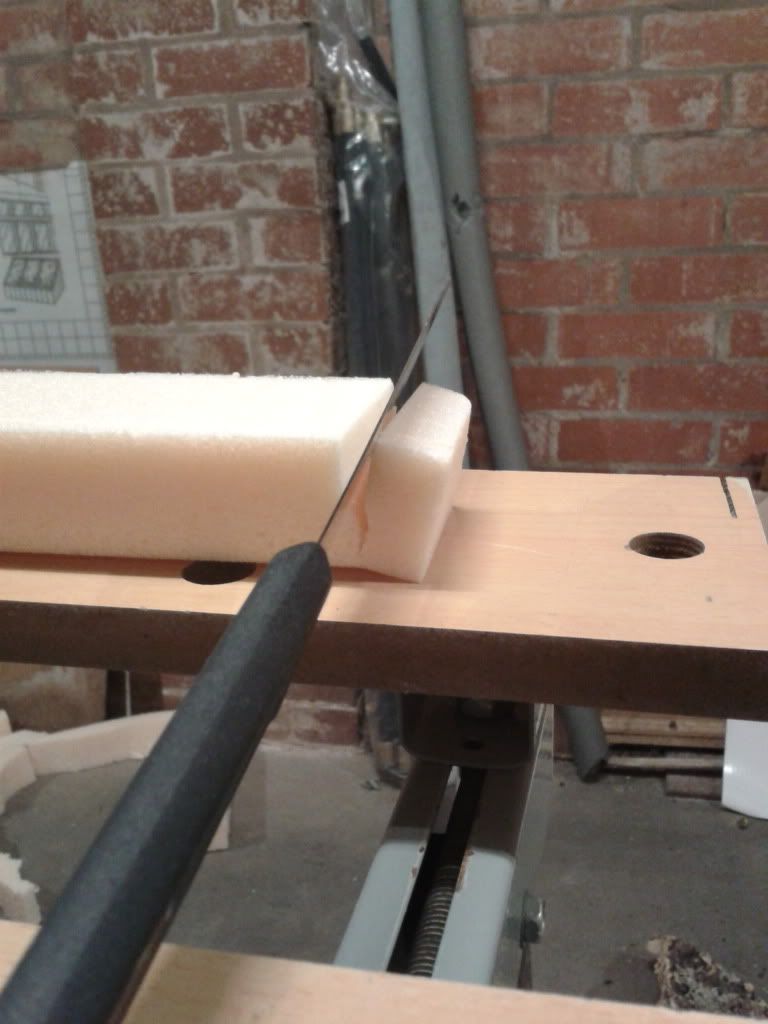
Using this tool (I think its called a dry-wall saw) I cut the shape out of the foam


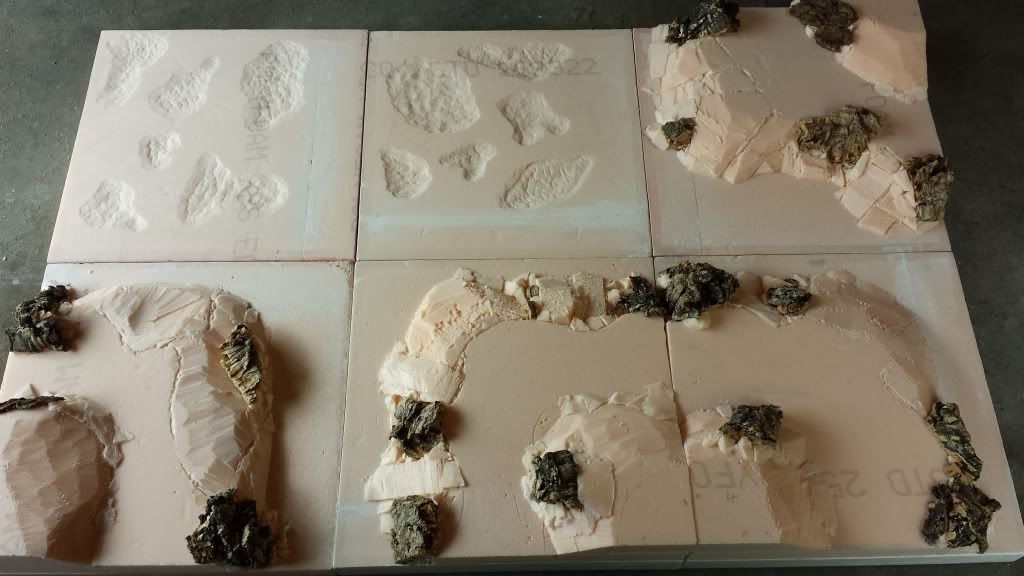
I then placed some off-cuts of foam on top to create another layer to the hill. I marked out a rough shape as before and made sure that each piece met the next at exactly 9 1/2" from the centre for the same reason as listed above. Then cut the shape out with the same saw as before.


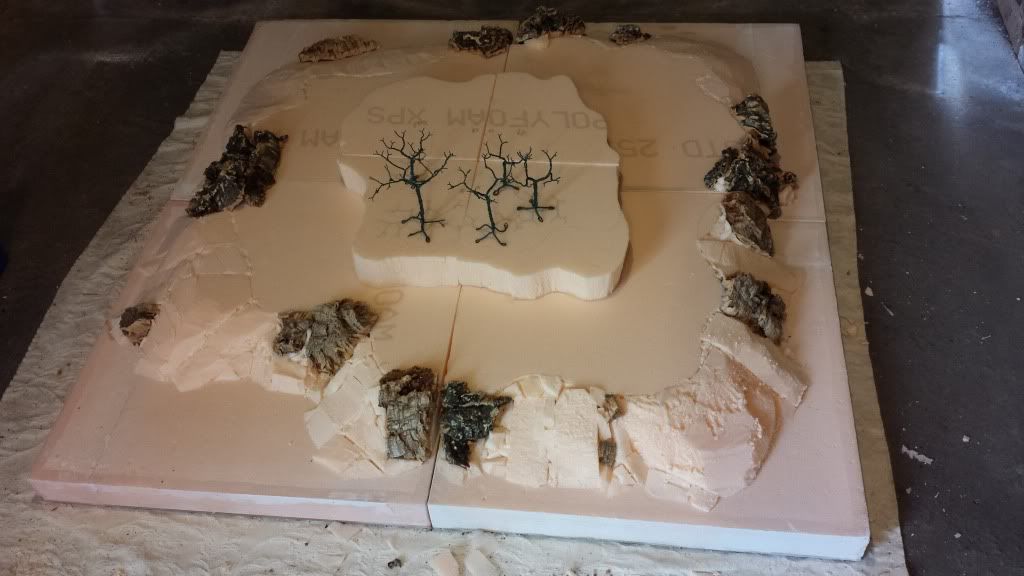
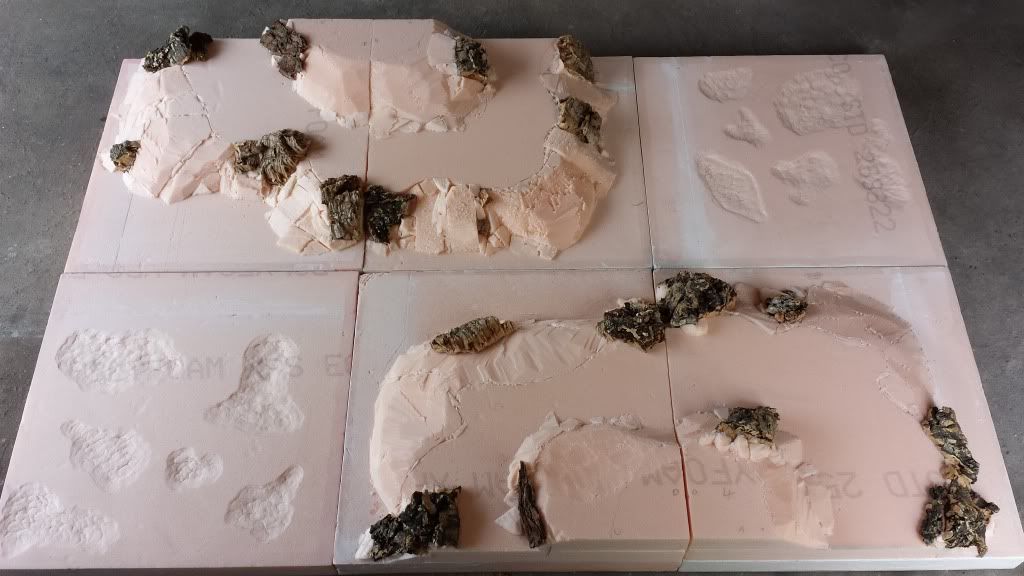
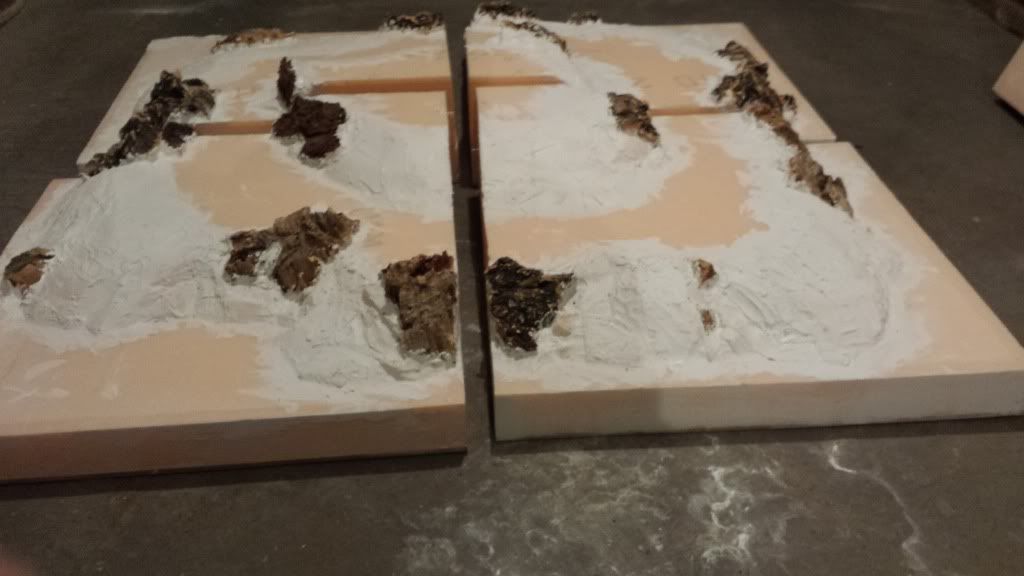
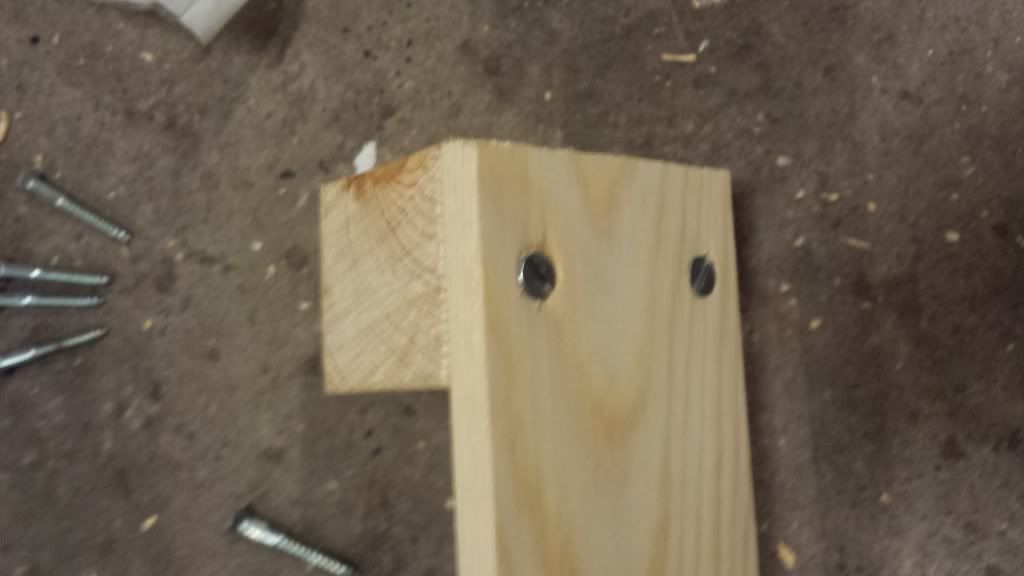
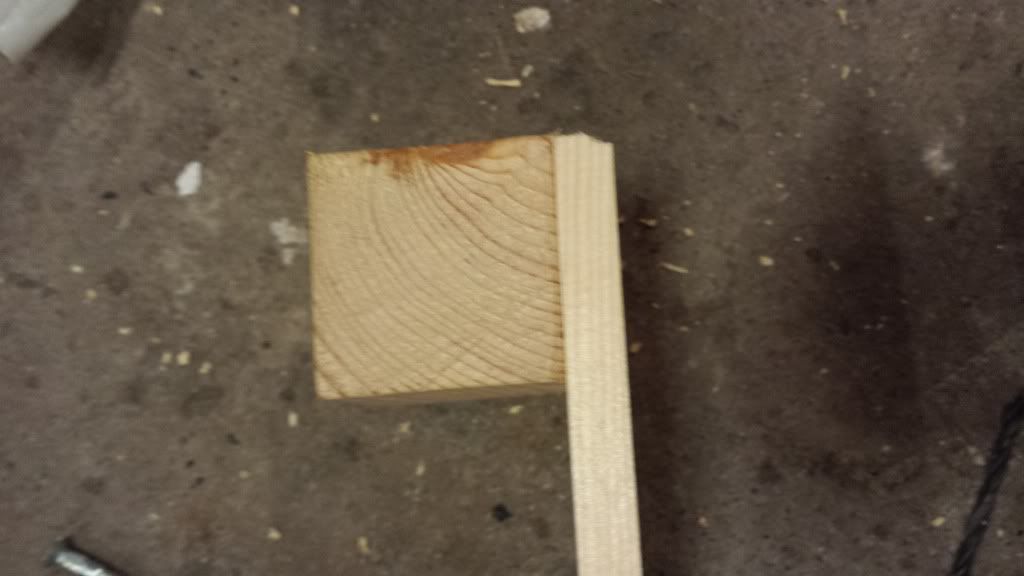
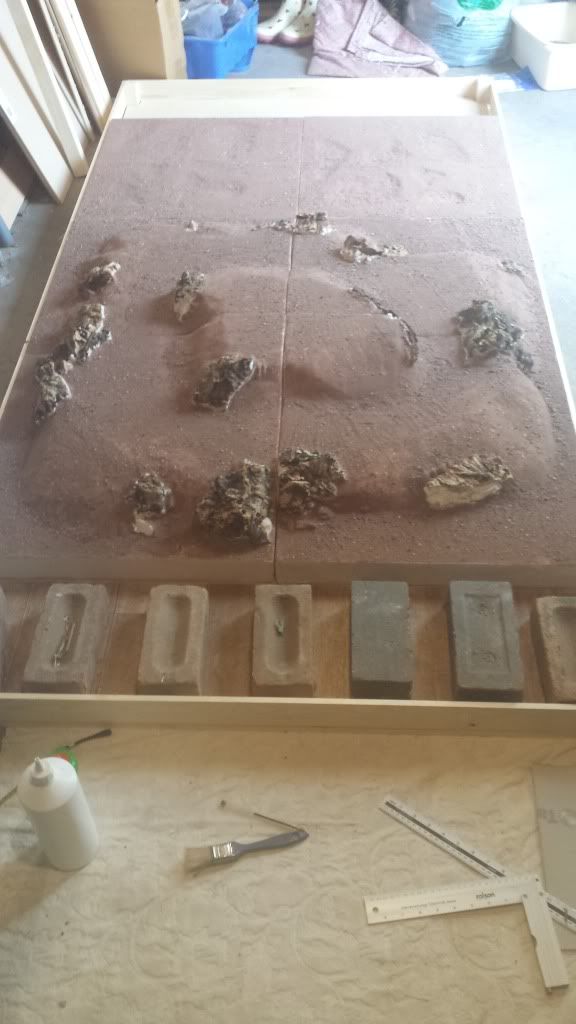
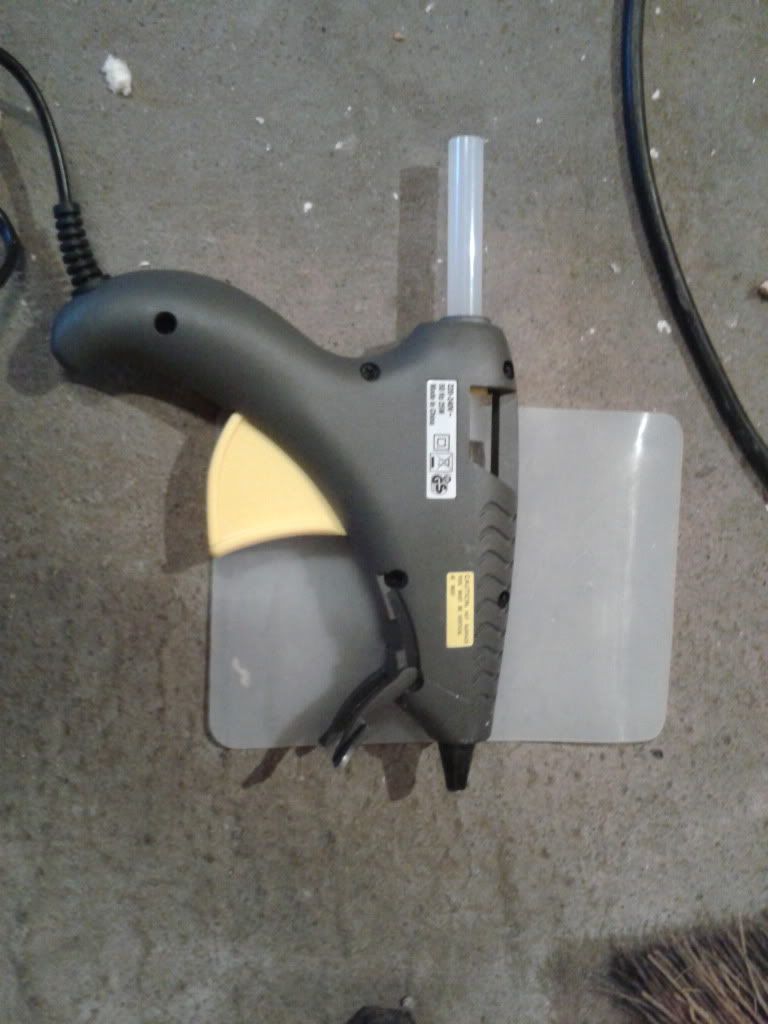
Next I inserted some cocktail sticks into the foundation boards squirted a lattice pattern of PVA glue onto the underside of the hill base pieces, making sure to put glue right up to the edge as well. I then pressed the hill piece down onto the cocktail sticks and down flush to the foundation. It took a few attempts with each board to get the sides lined up correctly but it is easy to reposition them as required.

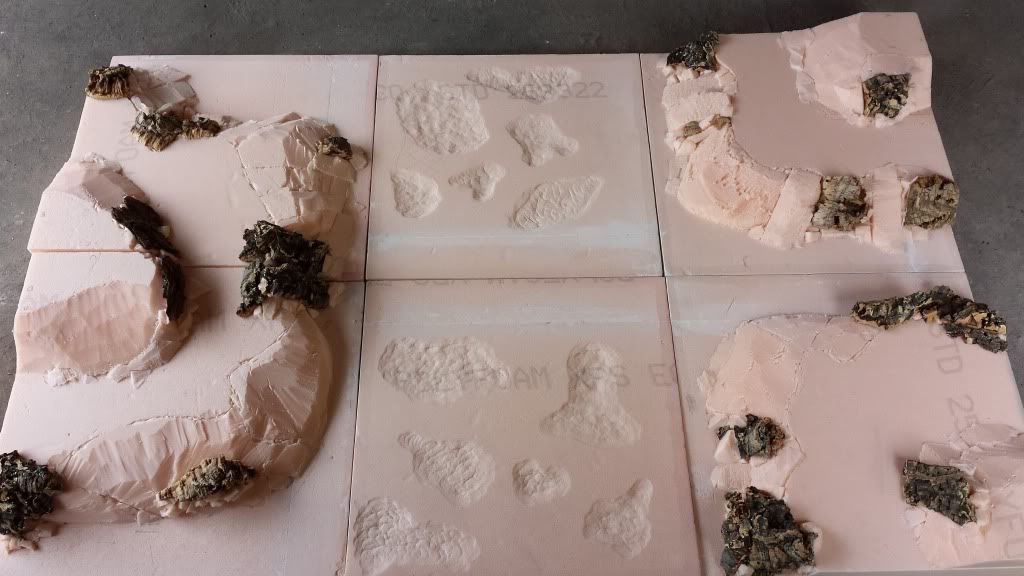
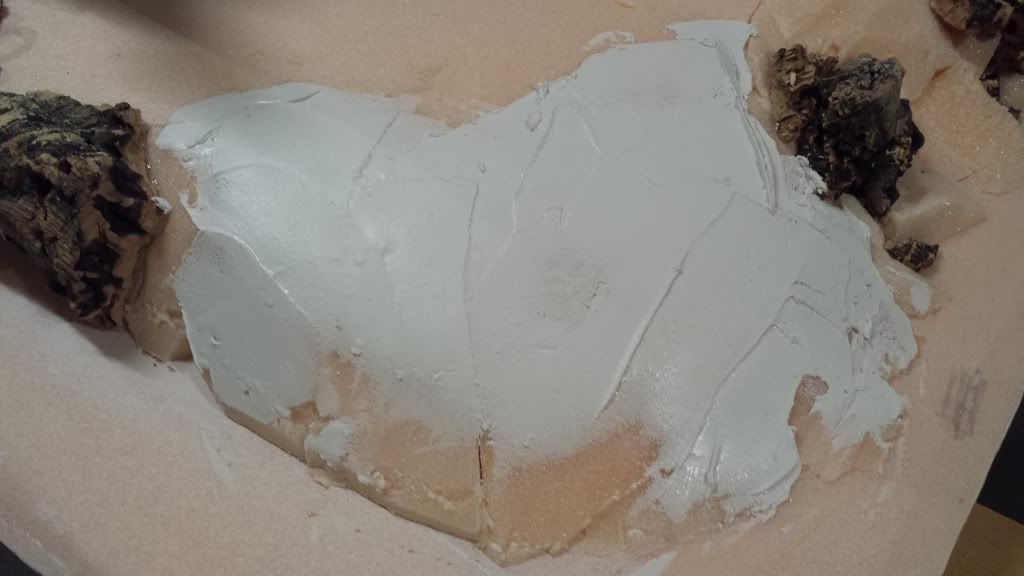
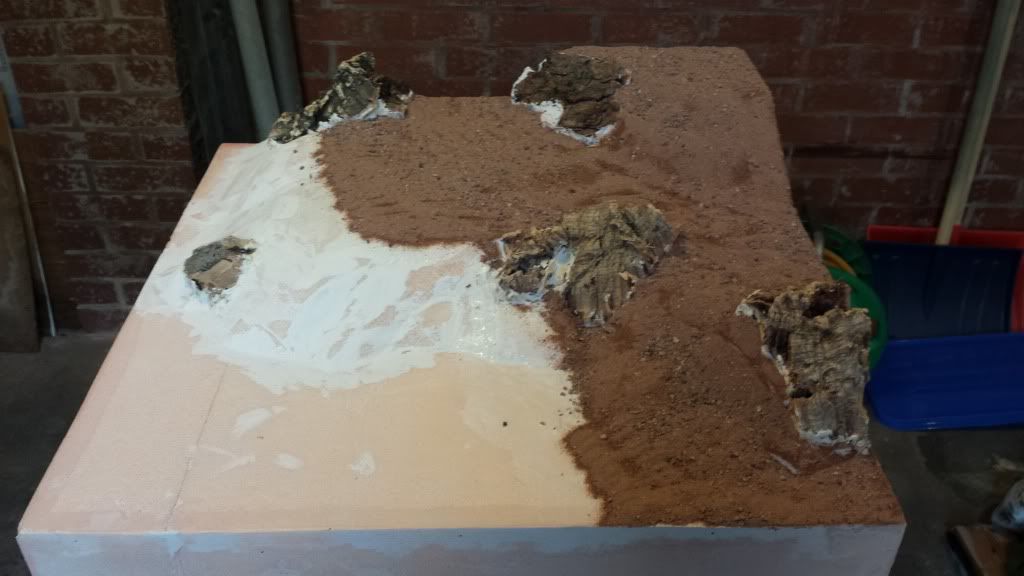
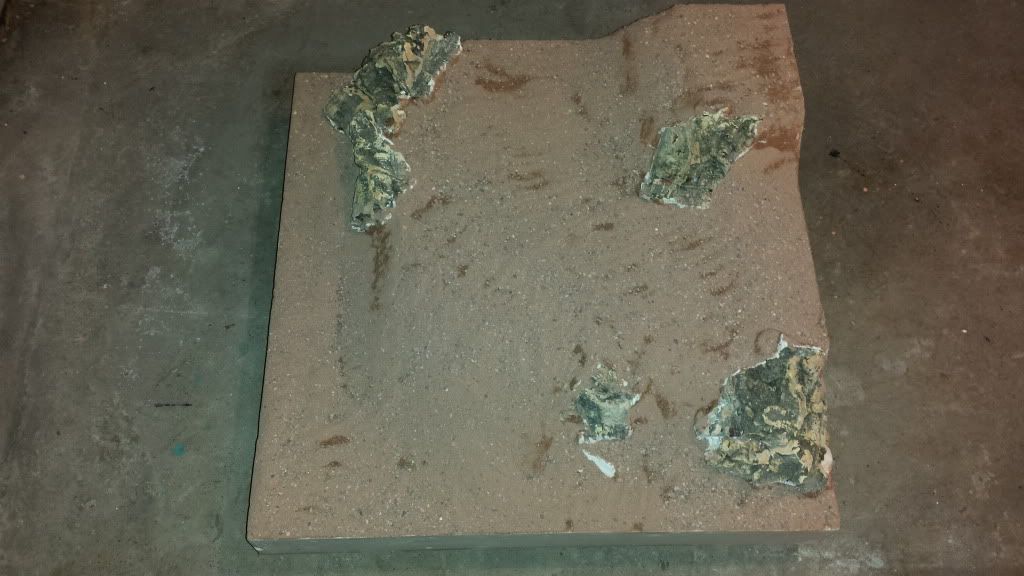
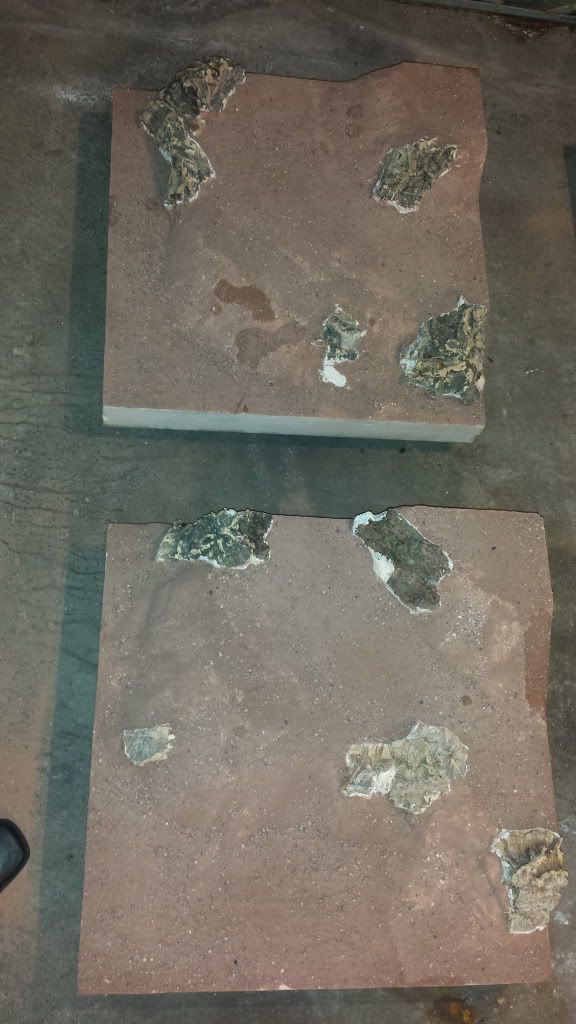
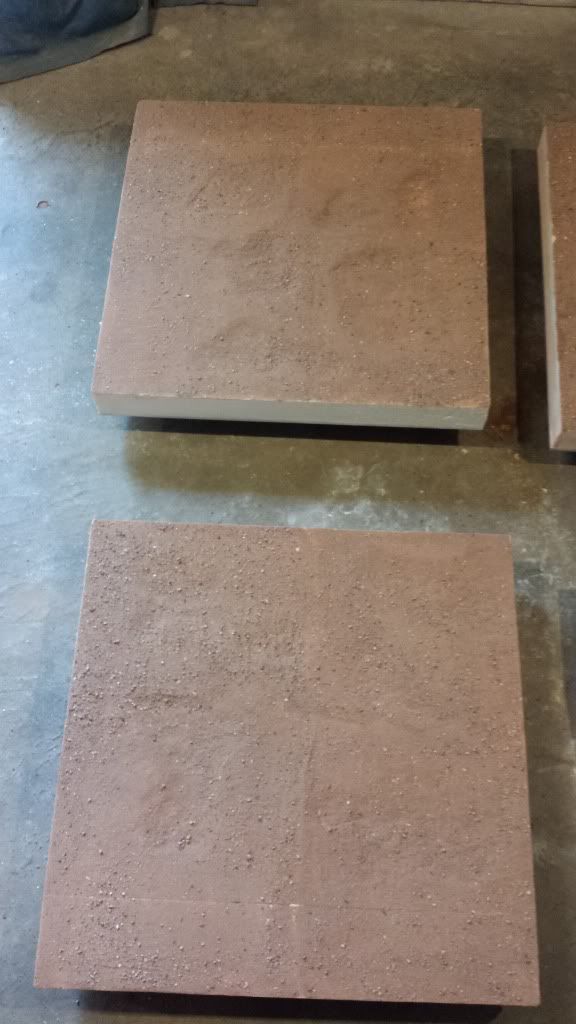
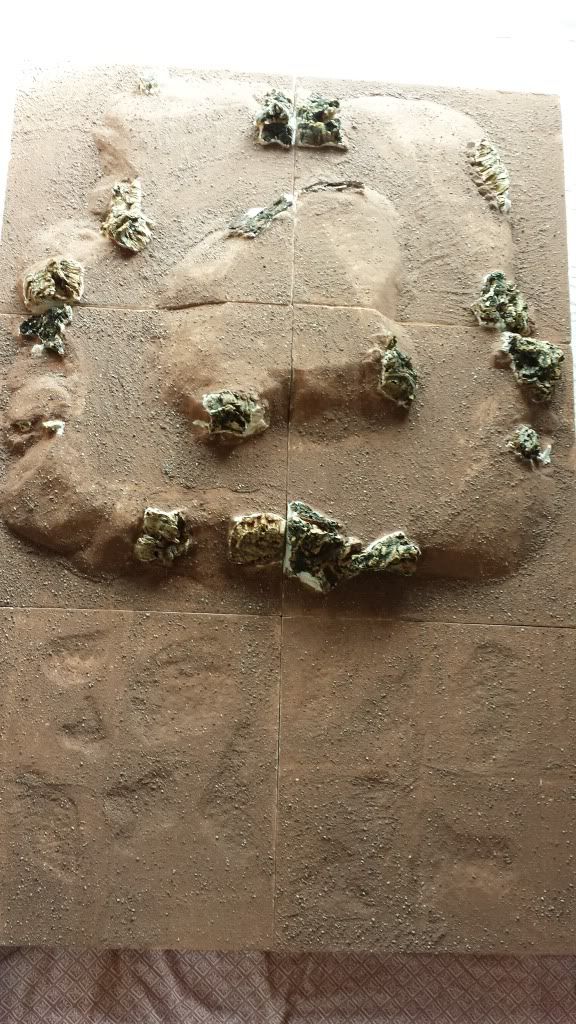
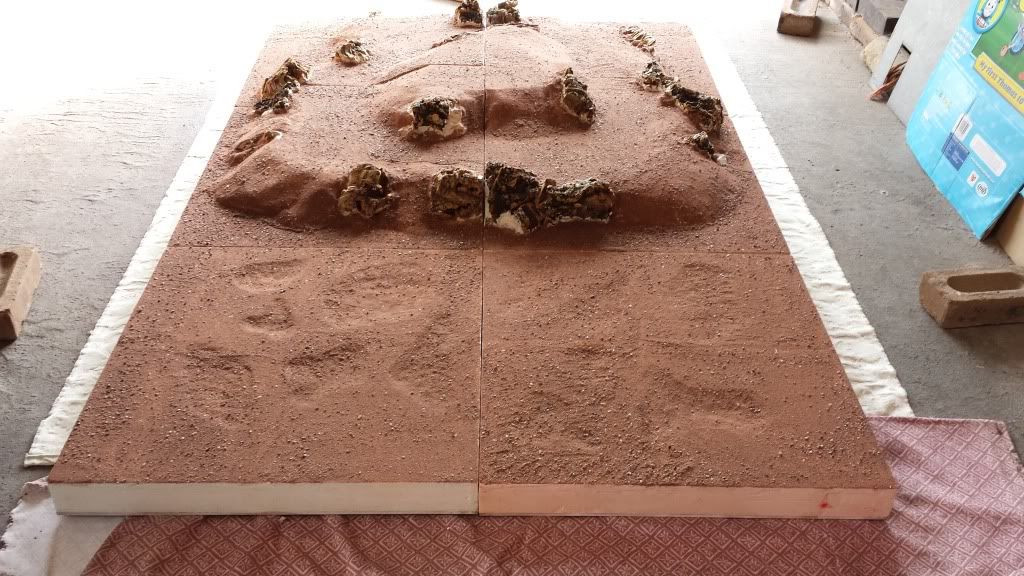
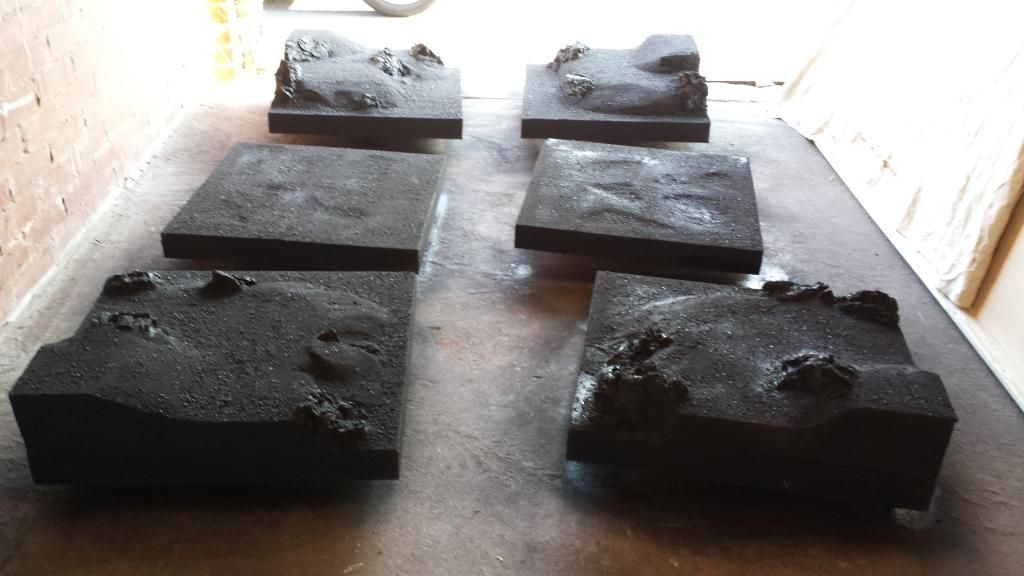
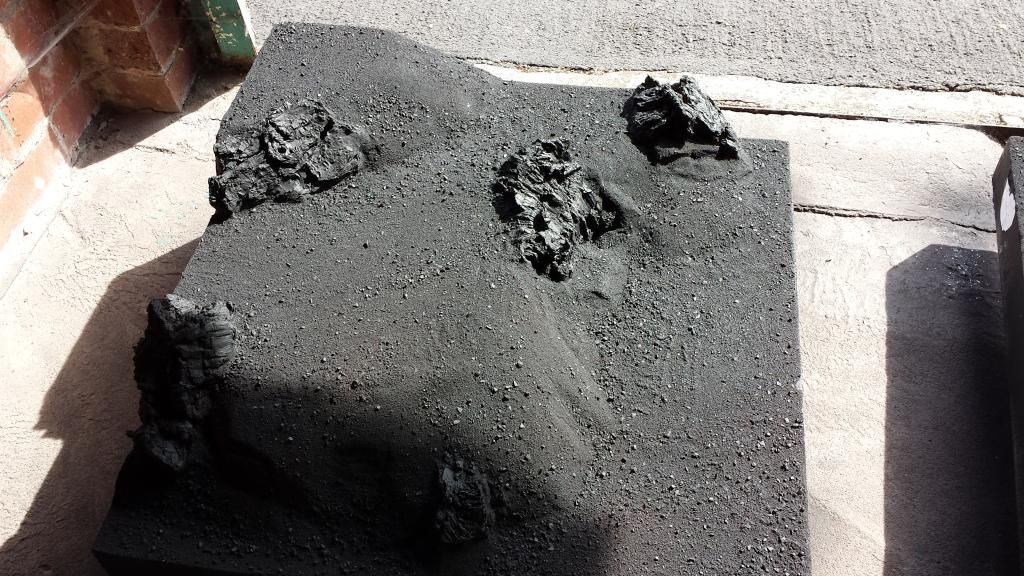
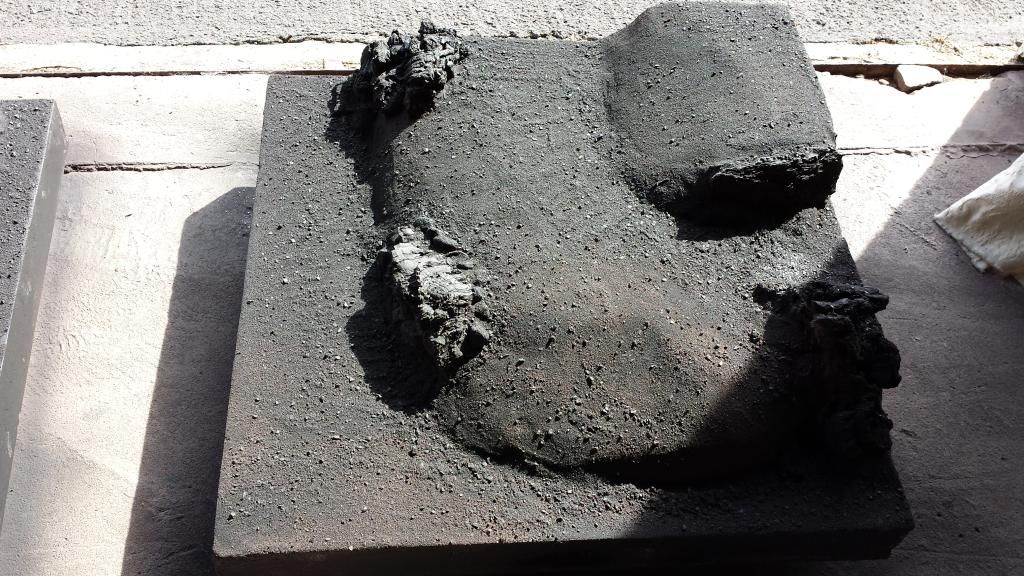
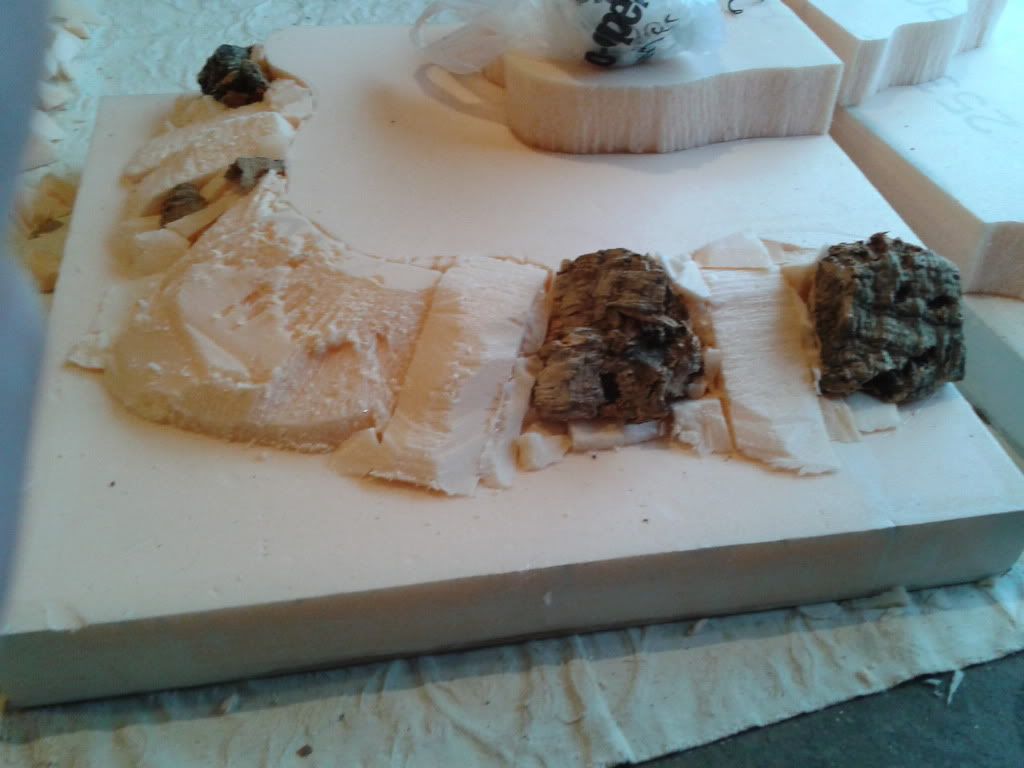
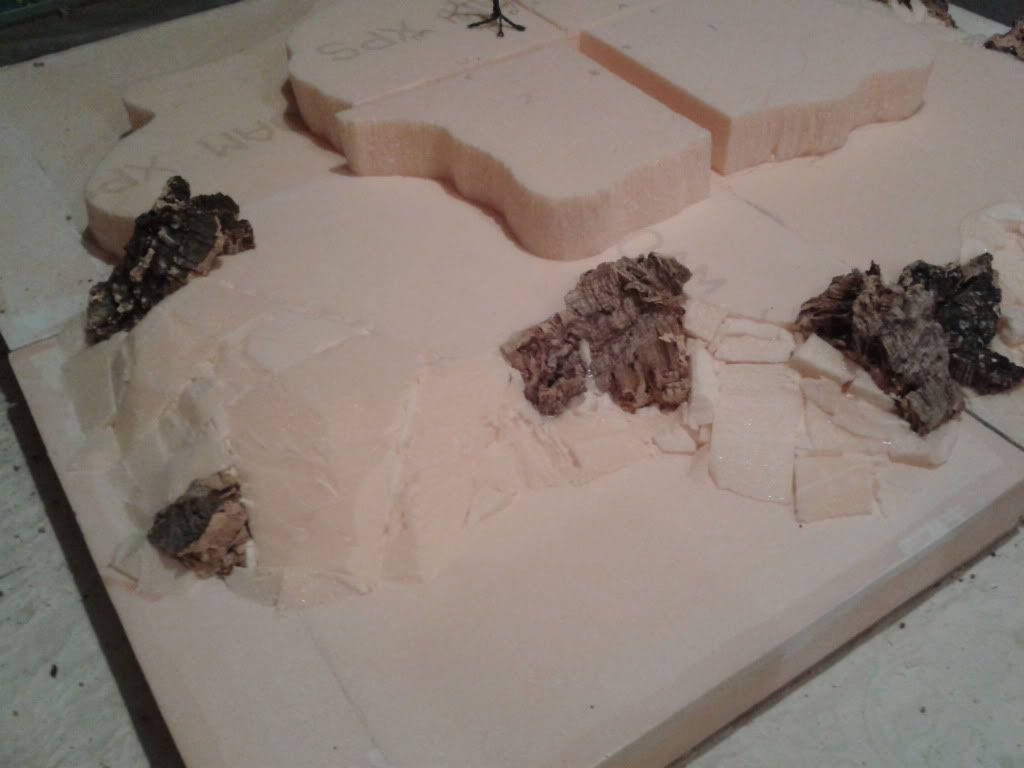
Once all of them were glued I stacked them on top of each other, placed a piece of card over the top and weighted them with 6 house bricks. I will take and post photos of them once the glue has dried overnight. Once dry I will create sloped sides for the hills by cutting some sections away and adding pieces of off-cuts, as well as the cork I showed in an earlier post as rocky outcroppings. These will then be blended together using polyfilla (spackle) to fill gaps and smooth joints.
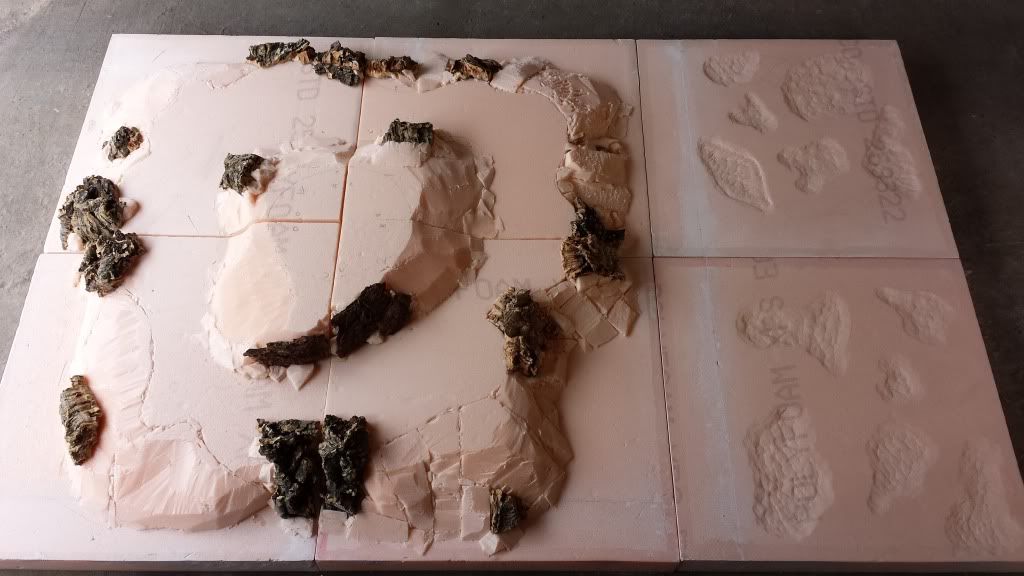
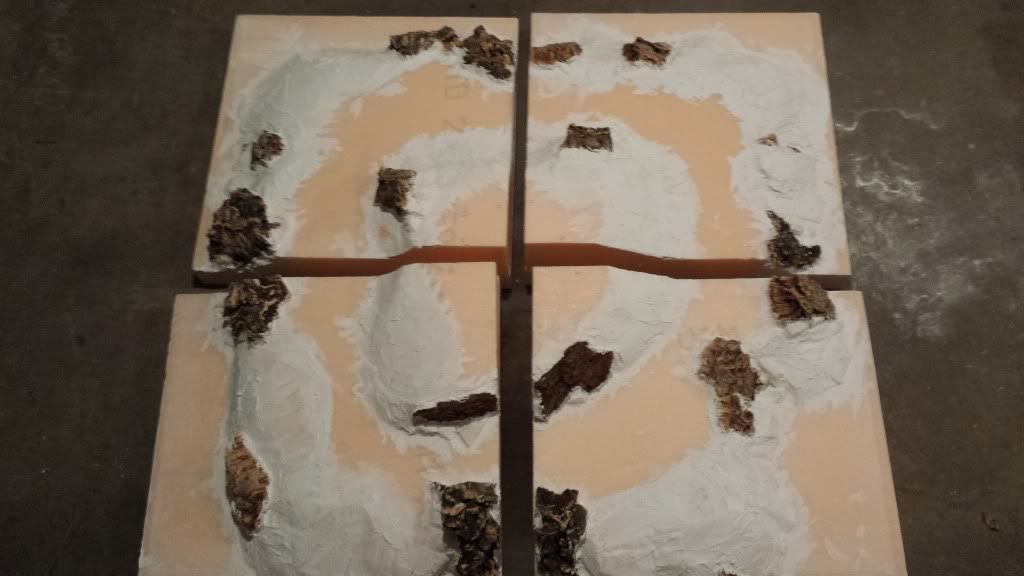
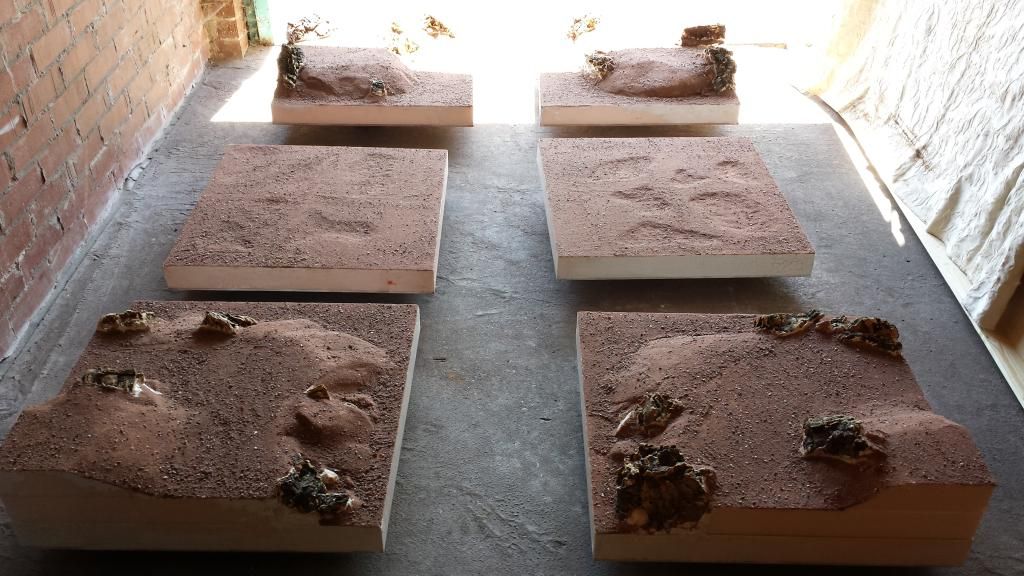
Photos of stacked and dried boards as promised

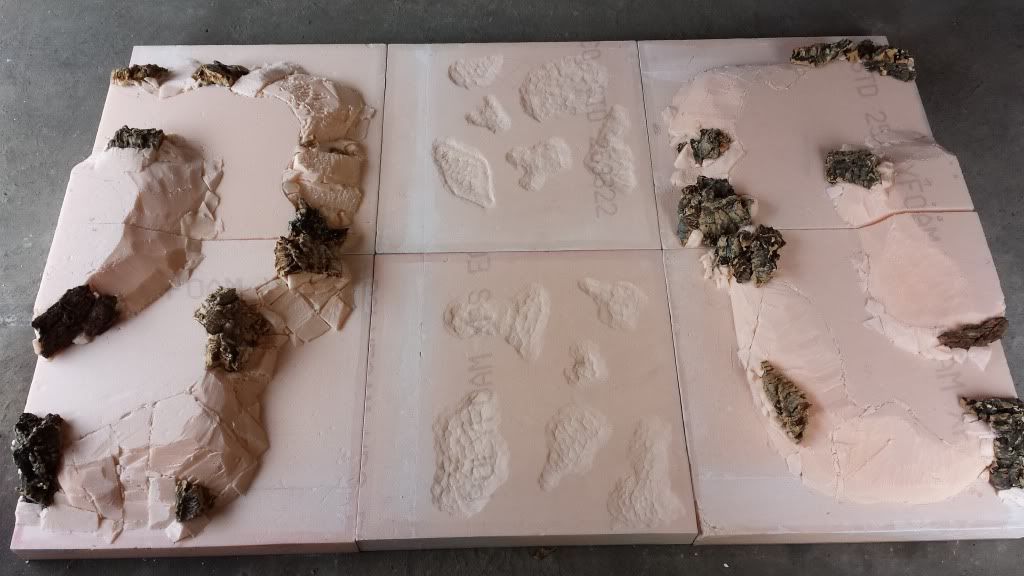
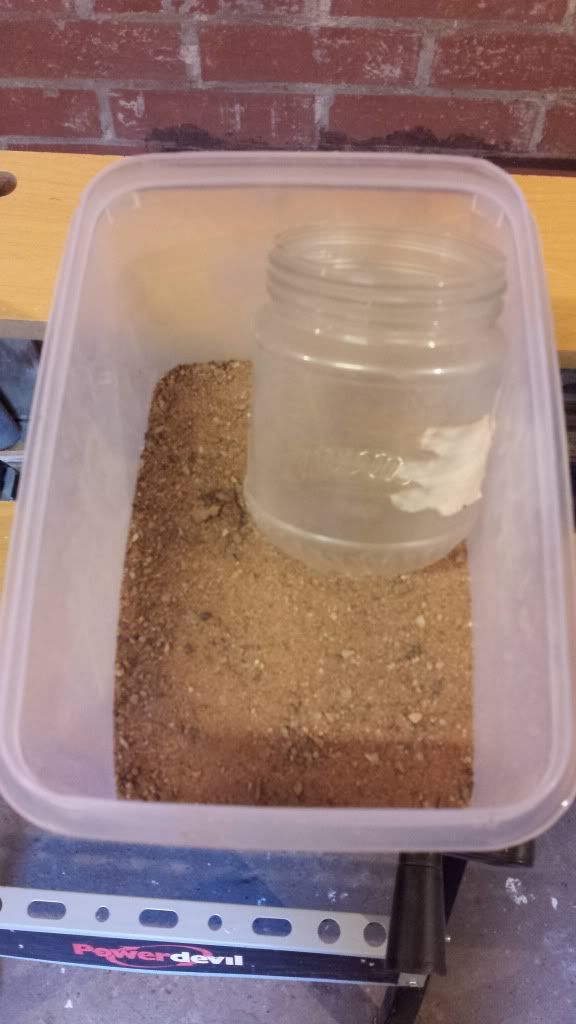
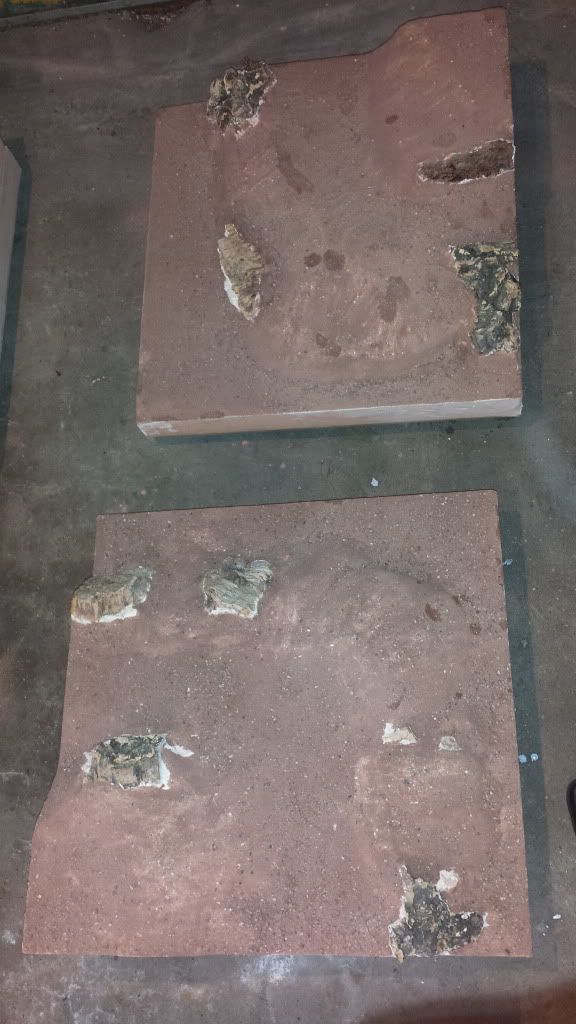
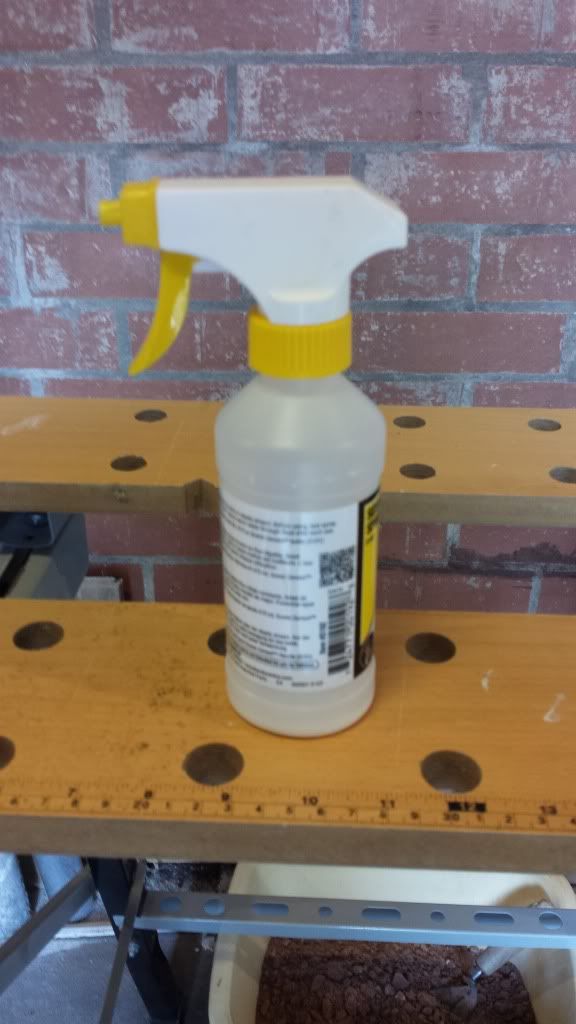
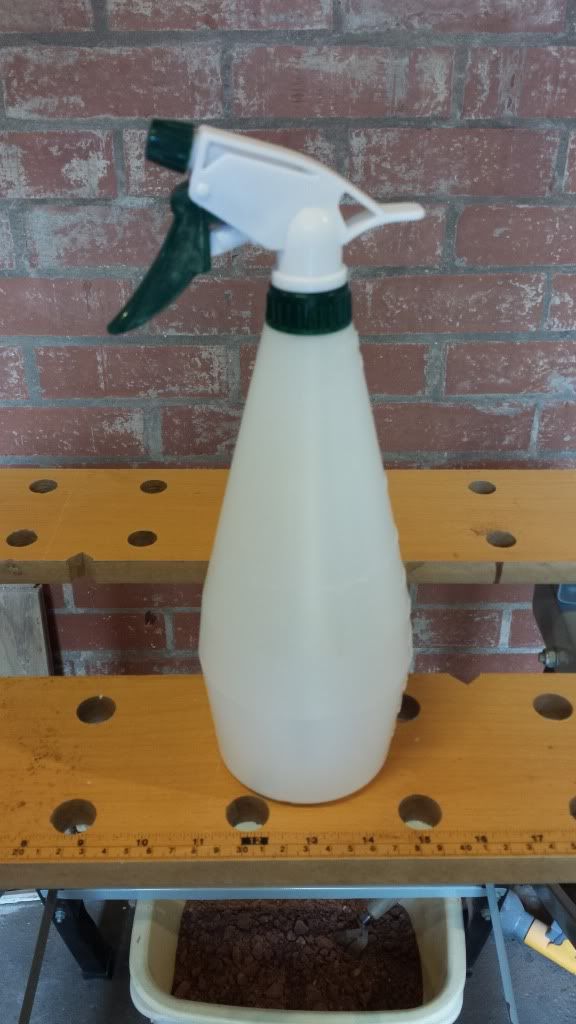
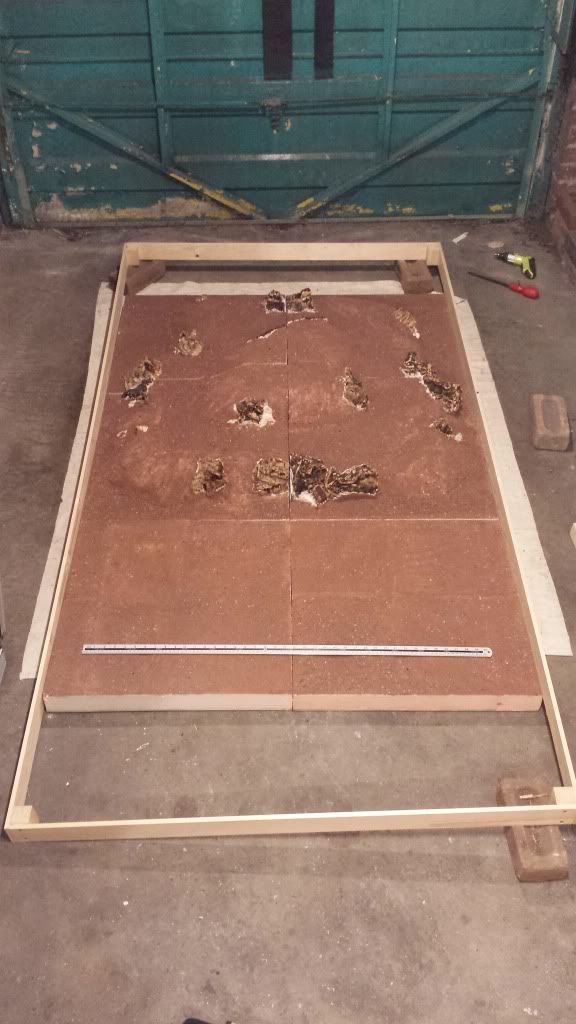
The remaining 2 foundation boards are going to be marshy lowlands so I marked out some patches on them that will be low points in the fields and therefore be the watery marsh patches. I then took a large screwdriver with a rounded handle (as shown, with my hand for scale) and used the handle to hammer the foam down in the areas I had marked in order to create depressions in the surface.


Once the board is textured, painted and flocked these recesses will have water effects poured into them to create a moist and marshy look rather than large pools of swamp like terrain.
Hopefully this covers things well enough but I will answer any questions you may have as well as I can.


 DOH!!
DOH!!